- Scrub
- Rinse
- Daylight
Black Spots in Shower Grout: Causes and Fixes
Black spots in shower grout are usually mold or mildew. Check shower safety, clean the growth in the right order, and prevent spots from returning.

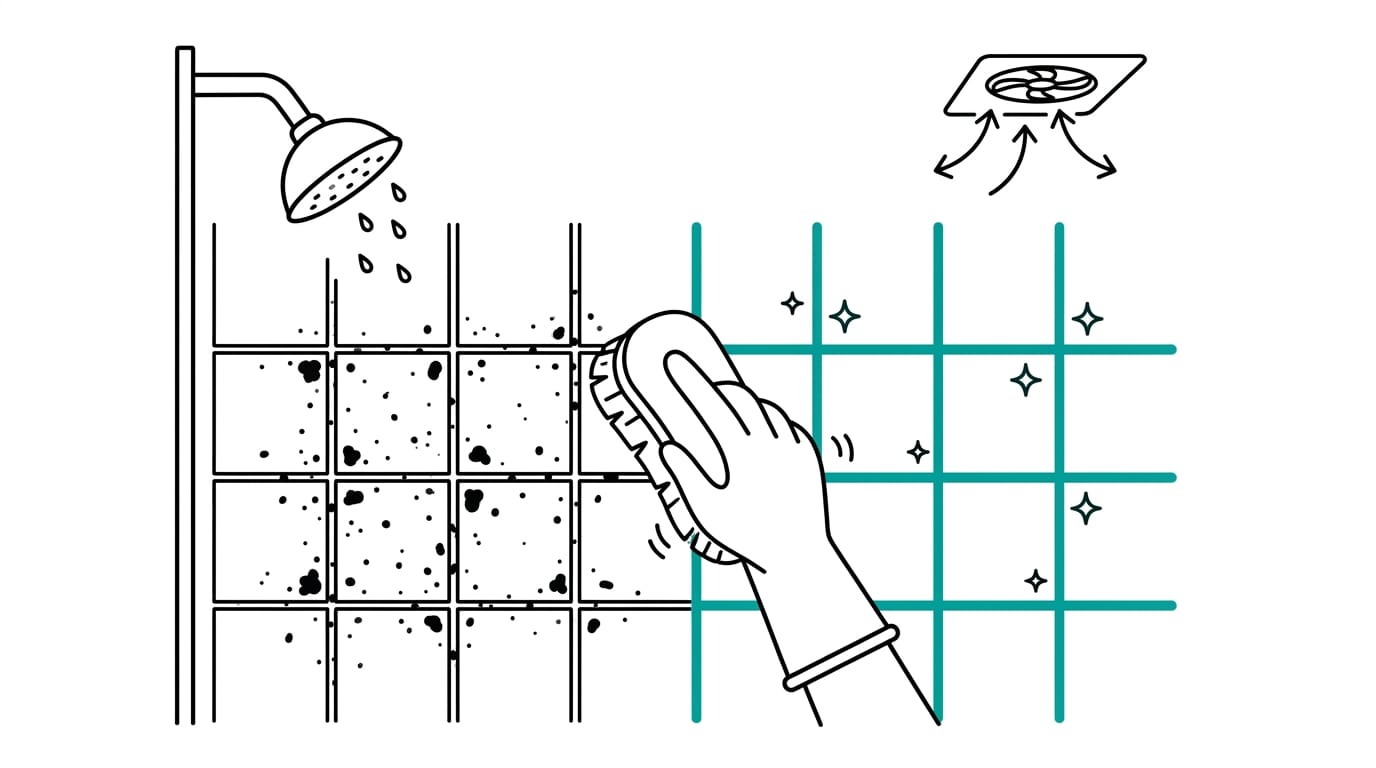
Black spots in shower grout are usually mold or mildew growing where moisture lingers, though soap scum, dirt, or leftover adhesive can look similar. Test whether marks sit on the surface, then clean in a ventilated space with a suitable cleaner, gentle scrubbing, and a thorough rinse; avoid mixing chemicals. Drying the shower, improving airflow, and sealing clean, dry grout help prevent spots from returning.
You step out of the shower, flick on the light, and there they are: dark specks creeping along the grout between your tiles. Those black spots can make the whole bathroom look neglected, but they’re easier to handle than they seem.
Most of the time, they’re mold or mildew feeding on the damp that grout tends to hold onto. Once you know what you’re dealing with, the fix is simpler than it looks.
In this post, we’ll explain what the spots are, why they keep returning, and how to clear them in the right order, plus fast, stain-first fixes for when scrubbing isn’t enough.
What Black Spots in Shower Grout Are
Those dark specks are usually mildew or mold, and catching them early makes them far easier to clear. Here’s how we’ll tell what you’re looking at.
Telling mold from soap scum and dirt
Start with a scratch test: gently run a fingernail or plastic scraper across the mark. If it wipes or flakes off, it’s sitting on the surface. If it stays put, it has worked deeper into the grout.
Square marks may be leftover tile spacers or adhesive, not growth, so a cleaner may not shift them. Mold can also sit in caulk, so check the bath edge along with the grout.
Here’s how mold, soap scum, and dirt compare:
- Mold or mildew: dark spots that can spread and sit inside the grout.
- Soap scum: a dull, filmy layer left by soap and hard water.
- Dirt: loose grime that lifts with warm water and mild dish soap.
Think of a renter who spots a dark speck in the shower corner on a Sunday clean. A quick scratch test shows it’s surface-level, so a mild cleaner should handle it before dinner.
What helps mold grow in grout
Mold needs moisture to take hold, and a few everyday habits supply plenty of it:
- Persistent moisture: water that sits on grout after each shower and never fully dries.
- Poor ventilation: with no extractor fan or open window, steam has nowhere to go.
- Dampness in bathrooms: the room stays humid between showers, so grout never gets a dry spell.
- Warmth: warm, humid air gives growth the conditions it likes.
Keeping grout dry matters more than scrubbing it spotless once a week. Fix the damp first.
Is It Safe to Shower with Black Mold?
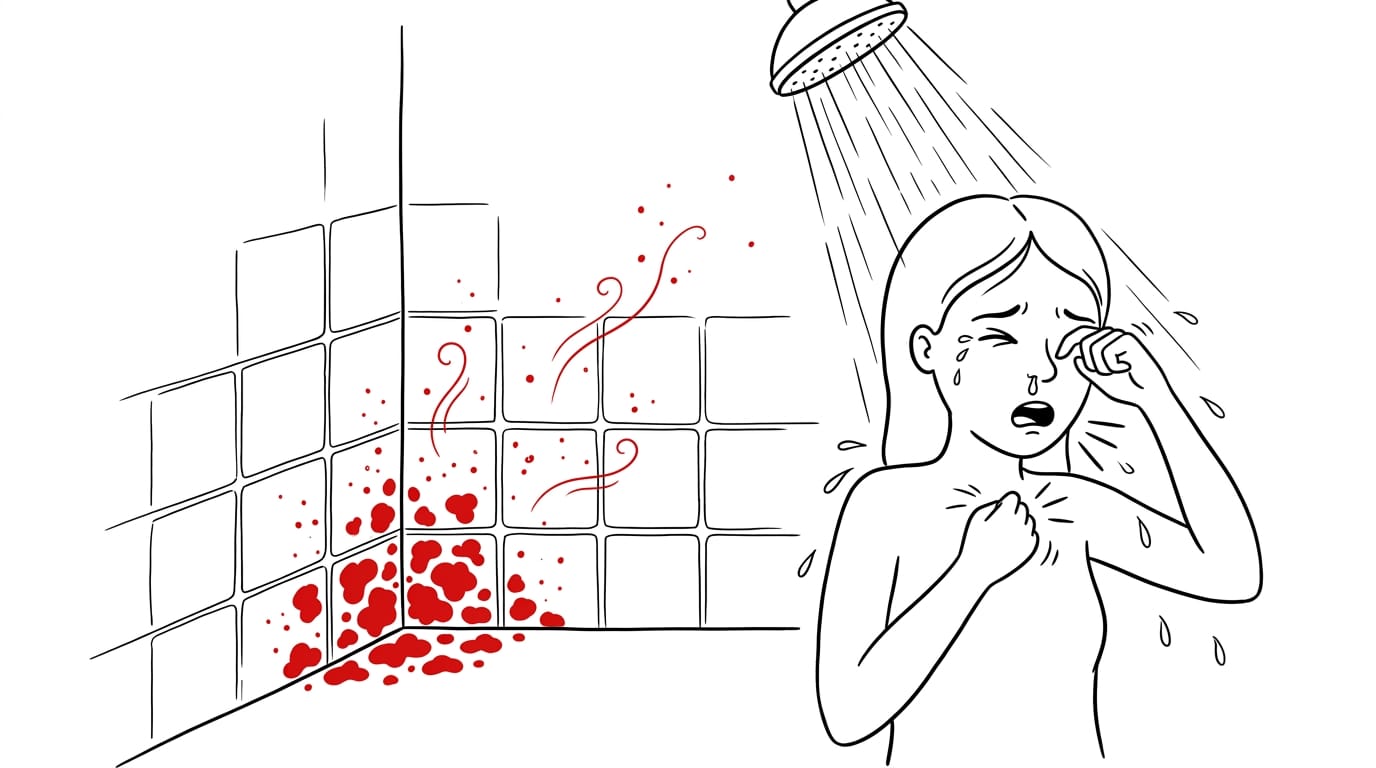
Is it safe to shower with black mold? The honest answer depends on who’s using the shower. For people with asthma or mold allergies, the growth can set off symptoms, so it’s worth cleaning it before you shower again.
How mold can affect your health
Mayo Clinic identifies mold exposure as a possible cause of the following:
- Asthma and allergies. Mold can set off breathing trouble and allergy symptoms.
- Sinus infections. Mold exposure is also a possible cause of sinus infections.
- Itchy, watery eyes. Eyes can become itchy and watery.
- Coughing and a runny nose. Coughing and a runny nose can also show up.
It’s less about how the grout looks and more about who is standing under the spray. Clean it first.
How the spots affect a home sale
Black spots can matter when you sell, too, since buyers judge what they see.
- Buyers notice mold. Dark spots stand out in listing photos and during viewings.
- It looks neglected. Staining can make the whole bathroom, and the house, seem less cared for.
- Quick fix for staging. Cleaning the grout before the photos are taken is often a fast win.
Think of a homeowner about to list their house. Dark grout can make the shower look neglected in every photo, even when the rest of the place is spotless.
A quick clean before the photographer arrives means the bathroom photographs clean, and buyers can focus on the house instead of the stains.
Stay Safe Before You Start Cleaning
Before you reach for a brush, take a few minutes to protect yourself and your bathroom. A little preparation makes the whole job safer and far less stressful.
Wear protection and keep air moving
Pull on gloves and wear eye protection before you open any bottle, since splashes can happen quickly. Put on old clothes too, because some of the mess will end up on whatever you’re wearing.
Keep good ventilation going during the clean and after it. Open a window if you can, switch on the exhaust fan, and leave it running once you’ve finished rinsing. Gloves on, window open, fan running.
Handle cleaning chemicals with care
- Read the product label. Check it before you open the bottle, not after, so you know how to use it safely.
- Never mix bleach and ammonia, even if you’re hoping for a stronger clean.
- Test a spot first. Before you treat the whole shower, try the cleaner on a small hidden patch. Think of a renter cleaning before handing back the keys: a quick test in an out-of-the-way corner shows a bad reaction before it reaches the whole shower.
- Protect chrome, steel and timber. Keep cleaner off these surfaces and wipe up splashes straight away, since the wrong product can damage them.
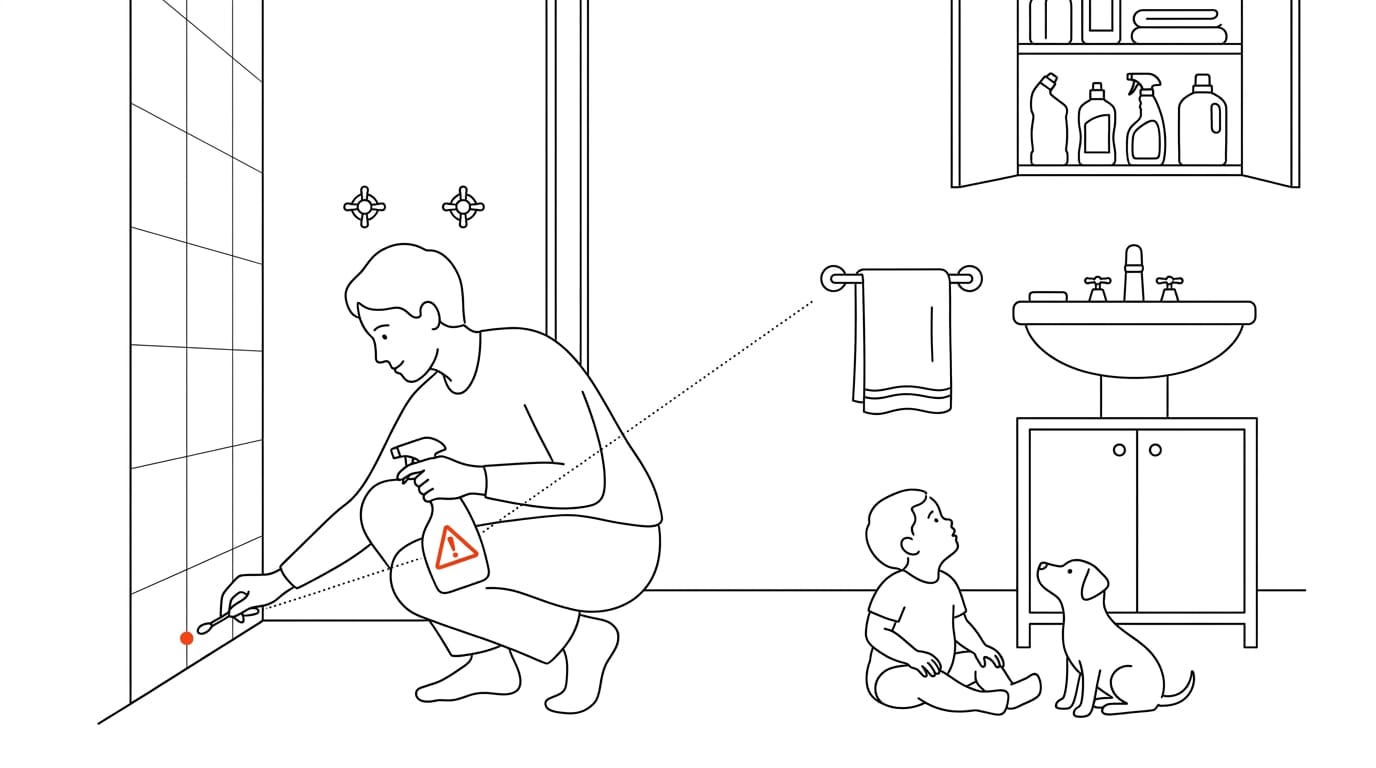
- Keep away from children and pets. Store every bottle on a high shelf or behind a closed door. Consider a parent with a toddler and a dog who puts each bottle back up high the moment they finish, so the bathroom stays safe for the rest of the day.
Ways to Remove Black Spots and Mold
Black spots respond to a few methods. The right one depends on how deep the growth has gone.
Bleach gels and the toilet cleaner trick
A clinging bleach gel stays put on vertical grout instead of running off. Toilet bowl cleaner is a popular trick too. Apply either one, keep the contact time short, then rinse thoroughly.
Bleach still needs elbow grease, so scrub with a brush while it’s on. Think of a renter who wants the deposit back: a quick gel, a brisk scrub, and a proper rinse can leave a grubby corner looking cared for.
Mould removers made for grout
For spots that won’t budge, a grout-specific mould remover is the next step. Spray from 20 to 30cm away, leave it for 20 to 30 minutes, then scrub with an old toothbrush. For stubborn spots, repeat the treatment or soak overnight.
These removers also work on silicone sealant. Lithofin’s grout cleaner is one option worth a look.
Hydrogen peroxide is a common question, but it isn’t one of the methods covered here, so start with the options above.
Why kitchen remedies often fall short
Kitchen remedies tend to disappoint. Aqviz’s guide to DIY mould remediation says a vinegar spray is ineffective on mould in shower grout, since it lifts surface marks but doesn’t remove growth that has moved into porous material.
Baking soda paste is weak on its own, and mixing it with vinegar doesn’t help. Chemixa’s baking soda and vinegar explainer shows the acid-base reaction neutralizes much of their cleaning action. Straight ammonia is best avoided. Skip it.
Consider a flatmate who scrubs with vinegar every week and still sees the same dark lines. A grout-specific remover gives that effort a better chance.
Follow the cleaning steps in order
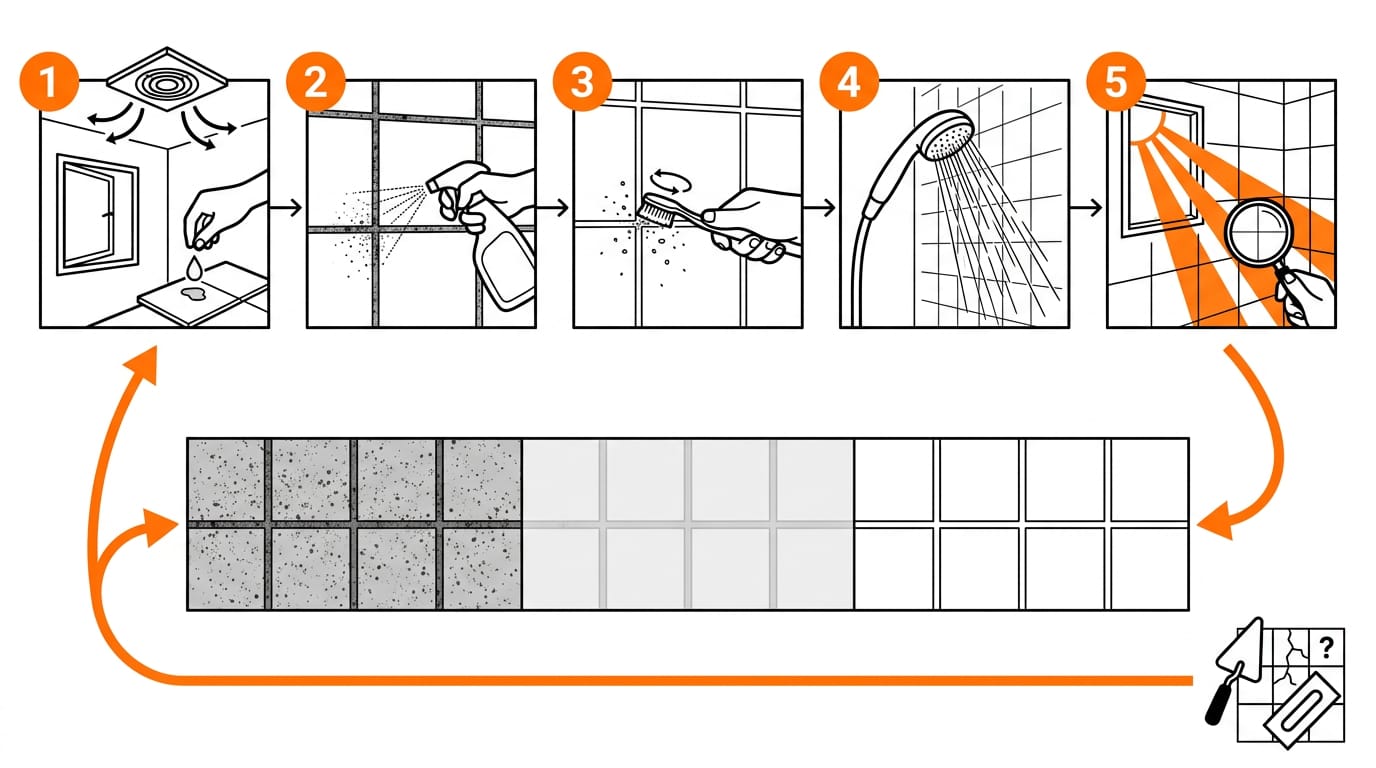
Work through these in sequence, because each step sets up the next:
- Ventilate and test first. Open a window or run the extractor fan, then test your product on a hidden patch.
- Apply to mould only. Keep it on the spots, not the clean tile around them.
- Agitate with an old toothbrush. Scrub gently to loosen the growth.
- Rinse thoroughly. Wash every trace away with clean water.
- Dry and assess result. Check the grout in daylight once it’s dry.
To make shower grout white again, repeat these steps and check in daylight after each round. If it stays dark after a few rounds, stop cleaning and think about regrouting.
Stopping the Spots from Coming Back
Stopping black spots is about preventing them rather than scrubbing them off again. A dry, airy shower and a sealed grout line do most of the work.
Keep the shower dry and airy
Black spots thrive where moisture sits, so the goal is to let the shower dry out after every use. Try these habits:
- Extractor fan or open window: Run the fan or crack the window so steam has somewhere to go.
- Leave the shower door open: A gap in the door lets air move across the tiles.
- Keep the area dry: A quick squeegee of the walls and grout after use removes the water mould needs.
- Clean more frequently: A weekly wipe beats a deep scrub every few months.
Consider a parent of three who squeegees the tiles after the morning rush. That one minute keeps spots from getting a foothold, so the weekend clean stays quick. Less moisture, fewer spots.
Seal grout after you clean it
Once the grout is clean and fully dry, apply a grout sealer to make repeat growth less likely. Ask at the DIY shop which sealer suits your grout and tiles, then follow the label on the bottle.
Renters can get that protection without permanent changes. A brush-on sealer touches only the grout, with no drilling or new fixtures, so there’s nothing to undo when you move out.
Grouting over old grout is usually a poor shortcut, since new grout needs a clean, solid base to bond to, and a fresh layer over crumbling old grout can crack or lift.
As for colour, yes, grout can be recoloured with a grout colourant or stain, but that’s a cosmetic change that won’t stop the spots returning.
Black spots in shower grout are usually a sign that moisture is lingering where it shouldn’t. Clearing them is about working in the right order, staying safe while you clean, and giving the grout time to dry between visits.
Once you have a plan, those dark marks are a fixable nuisance rather than a reason to panic. Whether you’re going deep with a scrub or reaching for a quick stain-first fix, you’re in control.
Keep the grout dry after each shower, and the spots have far less room to come back.
References
- Baking soda and vinegar neutralization — chemistryfundamentals.vercel.app
- Mold allergy - Symptoms & causes — mayoclinic.org (2025)
- Mold Remediation DIY: Where the Safe Line Actually Sits — aqviz.com
Questions
How do I clean moldy shower grout?
Ventilate the bathroom, wear gloves and eye protection, and test a cleaner on a hidden spot first. Apply a clinging bleach gel or grout-specific mold remover to the affected grout, scrub gently with an old toothbrush, then rinse thoroughly and dry the area. Never mix bleach with ammonia or other cleaners.
How to make grout in shower white again?
Clean the grout with a suitable cleaner, scrub gently, rinse well, and let it dry before checking the color in daylight. Repeat if needed; if it remains dark after several rounds, the stain may be deep or the grout may need replacing. A grout colorant can also change its appearance.
How do I clean dirty shower grout?
For loose dirt, wash the grout with warm water and mild dish soap, then scrub with a brush and rinse. If dark marks remain, they may be mold or mildew rather than ordinary grime; use a grout-specific mold remover or clinging bleach gel according to its label, and dry the shower well afterward.
Is it safe to shower in a shower with black mold?
It depends on the amount of mold and who is using the shower. Mold can trigger asthma or allergy symptoms, so people with those conditions should avoid exposure and the growth should be cleaned before showering again. Ventilate the room and seek professional help if the mold is extensive or keeps returning.
What causes shower grout to turn black?
Shower grout turns black most often because mold or mildew grows where moisture lingers. Poor ventilation, persistent humidity, and grout that does not dry between showers encourage growth. Soap scum or dirt can also darken grout, so check whether the mark wipes away easily.
Can you put grout over old grout in the shower?
Usually, putting new grout directly over old grout is not a good solution. New grout needs a clean, solid base to bond to, and a layer over crumbling or poorly prepared grout can crack or lift. Remove the old grout as needed and prepare the joints before regrouting.
Can grout be stained a different color?
Yes. Grout can be recolored with a grout stain or colorant, following the product directions and checking compatibility with your grout. It changes the appearance but does not prevent mold or moisture-related stains from returning.
Is hydrogen peroxide good for cleaning grout?
Hydrogen peroxide can help lighten some surface stains and is used as a grout cleaner, but it may not remove mold that has penetrated porous grout. Test it on a small hidden area first, ventilate the room, and never mix it with other cleaners. For persistent mold, use a grout-specific mold remover as directed.
Sources
- Mold allergy - Symptoms & causes - Mayo Clinic, mayoclinic.org,
- Mold Remediation DIY: Where the Safe Line Actually Sits - Aqviz, aqviz.com
- Baking soda and vinegar neutralization | Chemixa, chemistryfundamentals.vercel.app
More in Bathroom
- Tile and Grout Cleaning Explained: Methods and CostsTile and grout cleaning tackles murky grout without dulling tile glaze. Compare DIY steps with professional options and typical UK costs before you start.
- How to Remove Paint from Tile: A Complete GuideHow to remove paint from tile depends on whether it’s wet, dry, water-based, or oil-based. Use cupboard staples to lift paint from tile and grout safely.
- How to remove limescale from taps, showers and toiletsHow to dissolve limescale on taps, showerheads, screens and toilets with the acid each can take, what acids damage, and why descaler never meets bleach.
Stain Finder: a free stain removal guide
Find your stain