How to Clean Dryer Vent Safely, Step by Step
How to clean a dryer vent safely, spot clog signs, and prevent lint from returning. Know when DIY cleaning ends and a pro should take over.

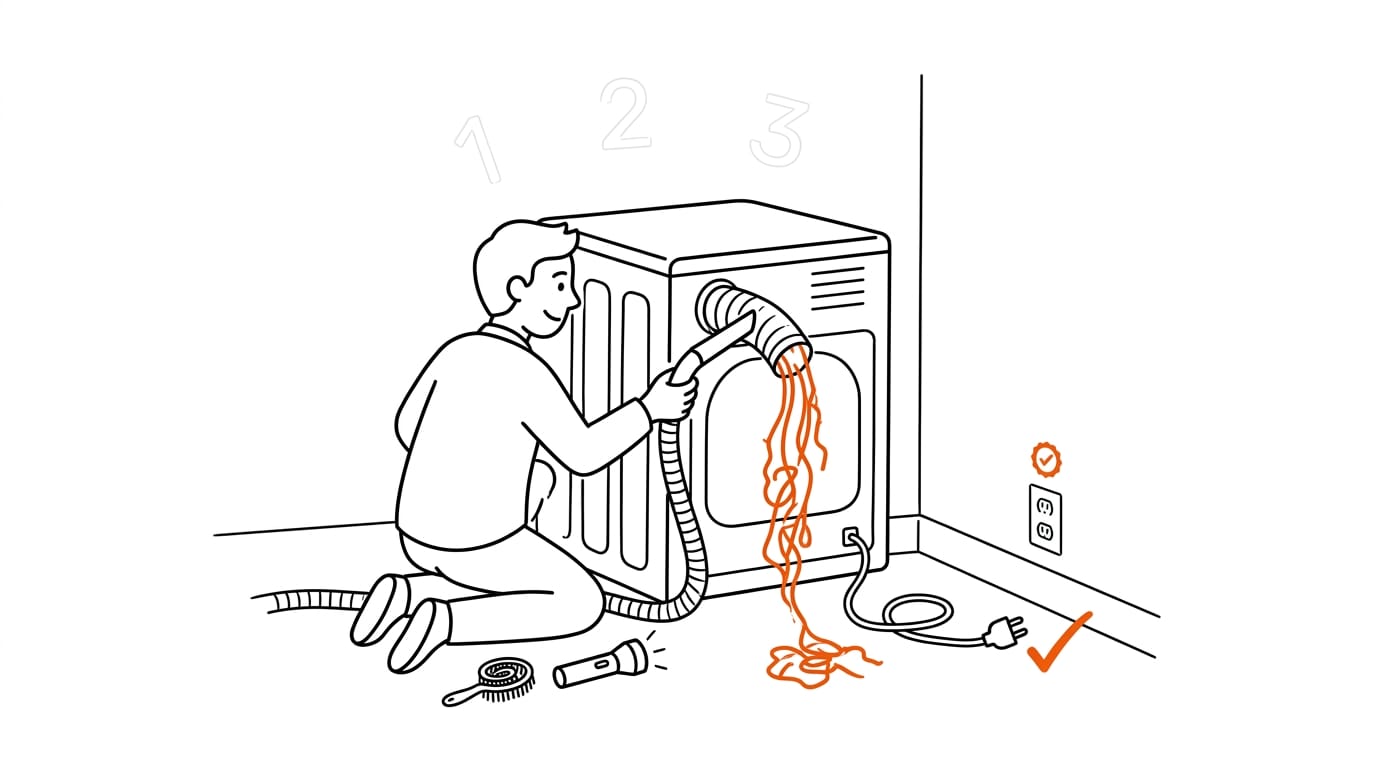
A dryer vent is the duct that carries hot, damp air and lint from a vented dryer to the outdoors. To clean it, unplug the dryer, disconnect and vacuum the rear duct, then use a suitable brush kit to loosen lint through the duct and exterior opening; reconnect everything securely and confirm the outside flap opens and airflow is strong. Clean the lint trap after every load and the vent at least yearly, or sooner if drying slows, to reduce fire risk and help clothes dry properly.
Picture this: you pull a load from the tumble dryer and it’s still damp, while the drum seems to run forever. Often the culprit is the dryer vent, the duct that carries hot, damp air and loose lint outside.
When it clogs, your dryer works harder, and all that trapped lint can become a fire risk.
The good news is that you don’t need to be a handyman to clean it. In this post, you’ll learn how to spot a blocked vent, clean it safely step by step, stop lint building up again, and know when it’s time to call a pro.
Why and How to Clean Dryer Vent
Your dryer vent does its work quietly, so it’s easy to forget until something goes wrong. Here’s why it’s worth making time for it.
Keeps your home safer and air cleaner
Think of a parent who clears the lint trap after a busy week of muddy school jumpers, then reaches into the vent with a brush on a Sunday afternoon. The job wraps up before the kitchen is tidy, and the laundry room is safer for every load after it.
Cleaning the vent also keeps your home’s air cleaner, since lint that builds up in the duct is removed from the system rather than left to drift around your home.
It’s less about how much lint you can see in the trap and more about where it’s gathering out of sight.
The bigger reason is fire safety. Dirty vents cause dryer fires, and that makes this one of the most important jobs on your laundry list.
According to the National Fire Protection Association, as relayed in this City of Melbourne fire safety guide, the leading cause of these fires was an accumulation of lint in the dryer. Clear the lint, and you cut the fire hazard.
The good news is that the whole job takes under two hours, which makes it one of the quickest safety wins in your home. Small job, big payoff.
Signs Your Dryer Vent Needs Cleaning
Most of these clues point to a blocked vent rather than a faulty dryer, so you can often fix things yourself. Look at how your clothes come out, then check what you can see around the machine.
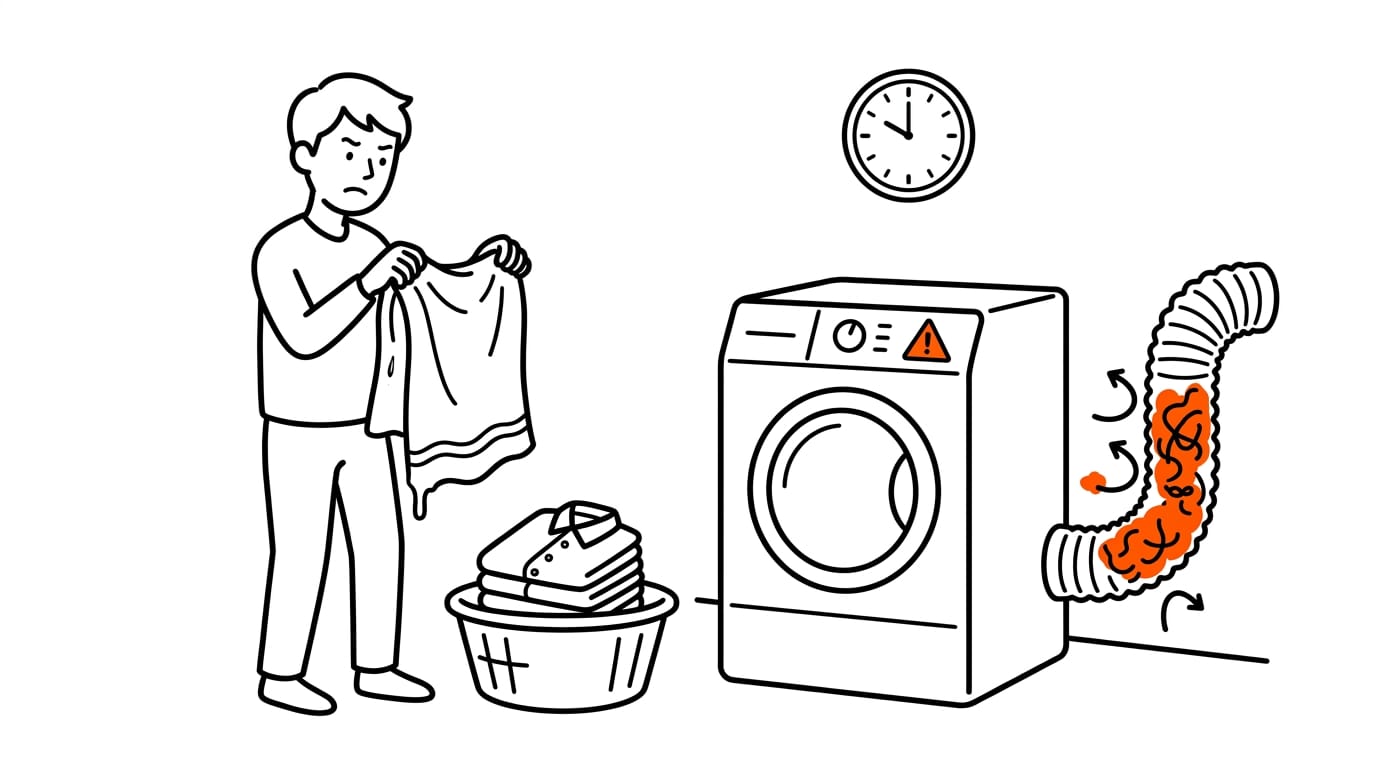
Drying problems that point to a clog
- Clothes dry slowly. Towels that need two or three cycles often mean lint is choking the airflow.
- Clothes very hot to touch. Air that can’t escape makes the machine work harder, so laundry comes out scorching.
- Dryer error or alert. An error code can mean restricted airflow, so check your manual.
- Over a year since cleaning. If it’s been over twelve months since the vent was cleared, check it now.
Picture a parent doing school uniforms each evening who notices the towels still feel damp after two cycles. Catching it early saves a wasted night and a possible repair call. Don’t wait for an alert.
Problems you can see or touch
Some clues sit outside the drum, so check the machine and the outside wall.
- Burnt heating element cover. Scorch marks or a brown, singed look mean heat is building up, often because lint is trapped nearby.
- Outside flap not opening. The flap on the outside wall should swing open when the dryer runs. If it stays shut, the duct is probably blocked.
- Lint visible at termination. The termination is where the vent exits your home. Fluffy lint there means it’s time for a clean.
Try the quick lint-flow test: with the dryer running, hold a tissue at the outside vent. Strong airflow pulls it toward the opening; if it barely moves, lint is likely restricting the flow.
Clean It Yourself Step by Step
Cleaning the vent yourself is a manageable job if you take it in order. Here’s the sequence, from gathering your kit through to checking that the air flows freely again.
Gather your tools and get set up
You’ll need three things before you start:
- Duct cleaning kit, for the rods and brush
- Wet vac, for the lint
- Tape and drill, for joining the rods and driving the brush
Unplug the power and shut off the gas if your dryer runs on it, then pull on a pair of gloves. Don’t skip this. If you rent, check with your landlord before you disconnect any ducts.
Consider a tenant who sends a quick message before touching the dryer, so there are no surprises when the duct comes off the wall.
Unhook the dryer and vacuum out lint
Before you start, confirm your machine is a vented model with a rear exhaust duct, the pipe running out of its back. Condenser and heat-pump dryers work differently and may not have one, so check the manual if yours is one of those.
- Pull the dryer away from the wall.
- Disconnect the rear exhaust duct.
- Vacuum out the drum and the lint trap.
- Blow out any remaining lint with the wet/dry vac.
This step is less about grabbing the big clumps and more about clearing what’s hiding in the corners.
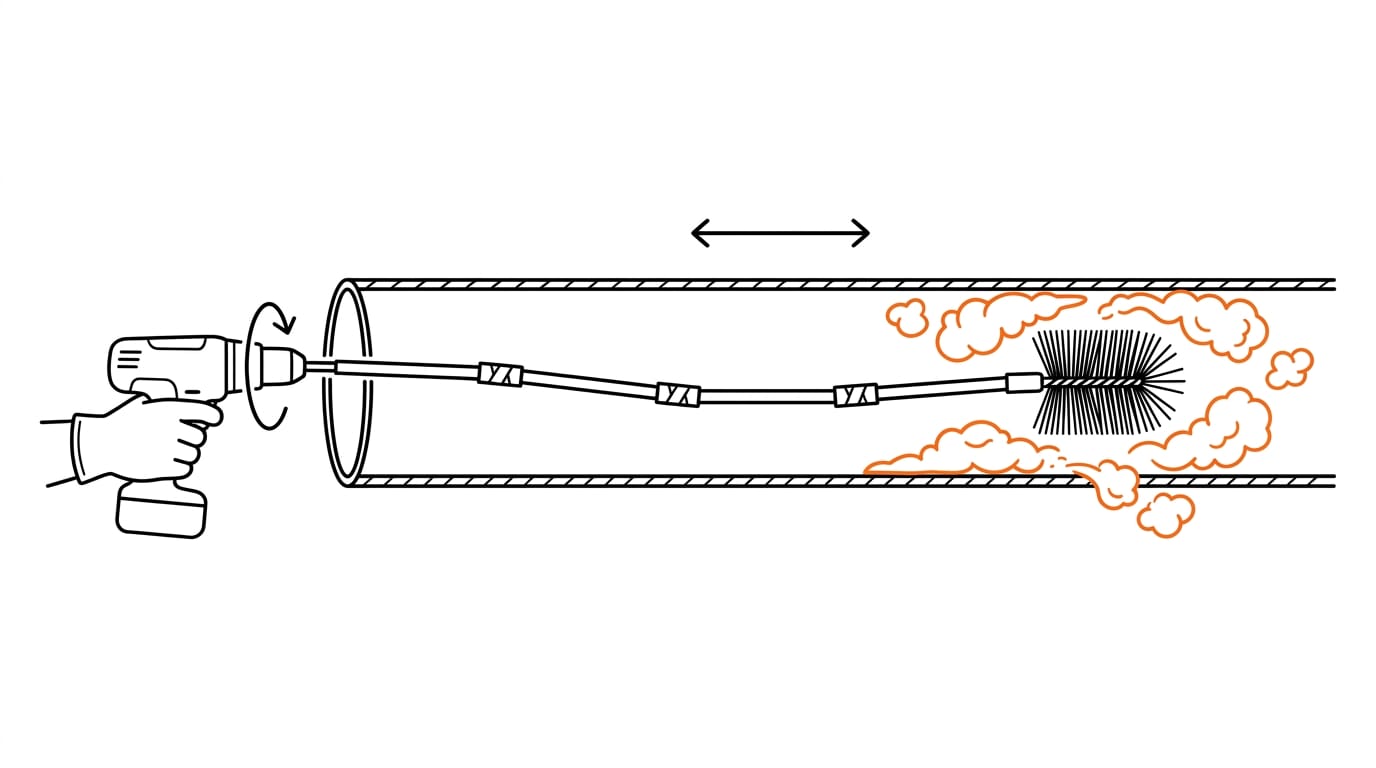
Scrub the inside of the duct
Now for the duct itself. Assemble the flexible rods, then tape each connection so they stay joined as you work. Attach the brush to the front, then fit the other end to your drill.
Push the brush in and pull it back in a steady push-pull motion, spinning it clockwise as you go. The aim is to loosen the lint, not to force the brush through the duct.
How do I remove a dryer vent cover without screws?
The short answer is that you don’t need screws, just a close look at how the cover is held. Head outside and find the wall or roof vent where the duct exits.
Check the edges of the cover for whatever is holding it, then ease it free rather than prying at it. Once it’s off, brush through the exterior opening with the same push-pull motion.
Hook everything back up and test
Replug the dryer and restore the gas if you shut it off. Make sure the duct sits firmly at both ends for a good seal. Next, head outside and check the exterior flapper, the hinged flap that should swing open when air is moving.
Then run the dryer and listen for proper airflow.
Consider a flatmate who handles the household laundry. After the test run, they step outside, see the flapper pushed open, and hear air rushing out, so the next load can go in without a second thought.
Keeping Clogs from Coming Back
Cleaning clears what’s there now. Keeping the vent clear takes a few daily habits, the right duct, and a sensible schedule.
Small habits that prevent buildup
Prevention is about how often you clean, not how hard. Start with these:
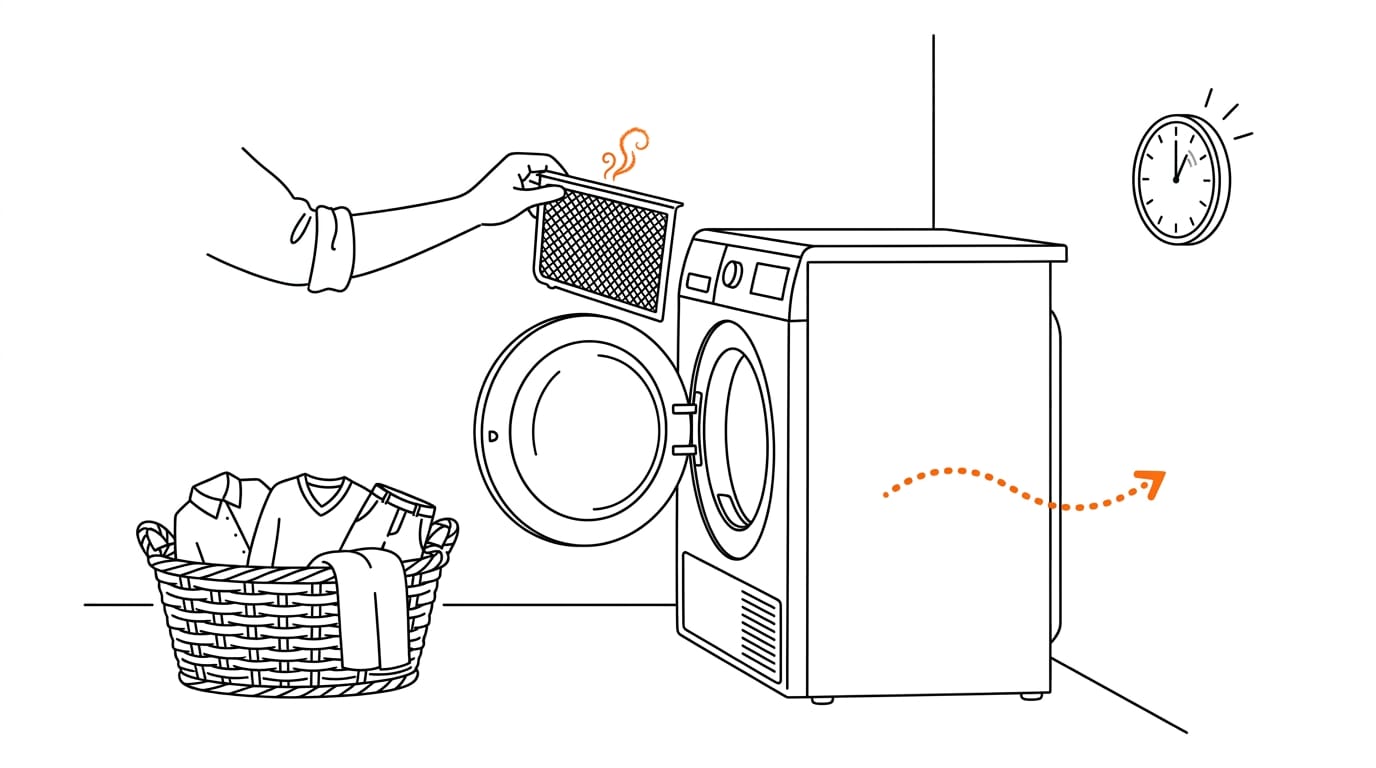
- Clean the lint trap every load. Empty it after each load so lint never gets far.
- Wait between loads. Give the vent a short break before the next cycle.
- Don’t leave the dryer running unattended. Stay nearby, especially on long cycles.
- Allow ventilation space. Keep the dryer clear of walls so air can flow freely.
- Wipe the lint trap with a damp cloth. It picks up the fine dust that loose lint leaves behind.
Think of a parent of three emptying the trap after every school-uniform load. It takes seconds and keeps the week’s washing drying as normal.
Choosing the right duct type and length
Vinyl, foil, and plastic ducts are easy to find but a poor fit for a dryer. Swap them for rigid metal duct instead. Shorten any hose that stretches further than it needs to, since every bend gives lint another place to catch.
So how long can a dryer vent be? There’s no single number. According to Dryer Repair Center’s guide on vent length, the maximum safe length depends on your dryer and vent setup, and the manufacturer’s installation manual sets the limit.
Elbows and the type of outside hood both count, and the allowance shrinks with every turn.
How often to clean your vent
The standard advice is to clean your vent once a year. According to the Chimney Safety Institute of America, clean it sooner if clothes take longer than normal to dry. Once a year is the floor, not the ceiling.
- Pet owners should clean more often than the yearly standard.
- Large families should clean more often, since more loads means more lint.
Hiring a Pro to Clean Your Vent
Sometimes the smartest move is picking up the phone. Here’s how a professional visit differs from doing it yourself, plus what to expect on cost and timing.
How a pro cleaning differs from DIY
Doing it yourself (often called DIY, or do-it-yourself) usually means brushing and vacuuming whatever you can reach from the back of the dryer and the outside vent.
A professional works the whole route and brings equipment you won’t have at home, including:
- Truck-mounted air compressors: large units on a van push a strong blast of air through the duct, loosening lint that a brush can’t shift.
- Specialty dryer vent tools: flexible rotary brushes and rods that bend through the ductwork and scrub from the inside.
The difference isn’t how hard you scrub. It’s how much of the duct gets reached. Think of a parent whose towels come out damp after every cycle. They’ve cleaned the lint filter every time, but the blockage sits deeper in the duct.
A pro reaches it, and the next load dries the way it should. Same dryer, better results.
There isn’t one fixed price for this job. Cost depends on the length and layout of your ductwork and the company you choose, so ask for a written quote before the technician starts.
Timing works the same way: a longer, twistier run with more blockage takes longer. Ask for an estimated visit length when you book, so you can plan your day around it.
A clear dryer vent means faster drying and a safer home. Spotting the warning signs early, cleaning the duct carefully, and keeping lint in check are simple habits that pay off every time you do the laundry.
Whether you do it yourself or call a pro, act before the build-up gets serious. A little attention now saves you from damp washing and a real risk.
Clear the vent, and your dryer will do what it’s meant to do: keep your clothes warm, dry, and safe.
References
- Safety Tips to Prevent Clothes Dryer Fires — melbourneflorida.org (2026)
- Dryer Vent Length and Material: What the Manuals Allow — dryerrepair.center (2026)
- NFPA Safety Tips — dryersafety.org
Questions
How long can a dryer vent be?
There is no single maximum length for every dryer vent. The limit depends on the dryer model, duct material, elbows, and outside hood, so follow the manufacturer’s installation instructions; bends can reduce the allowed length.
How do I remove a dryer vent cover if there are no screws?
Check whether the cover is held by clips, tabs, or a twist-lock fitting, and gently release it according to its design. Ease it away from the wall rather than forcing or prying it, which could damage the cover or siding.
How often should dryer ducts be cleaned out?
Clean the dryer duct at least once a year. Clean it sooner if clothes take longer to dry, and more often if you have pets or do laundry frequently.
How do you tell if your dryer vent is clogged?
Common signs include clothes taking longer than usual to dry, laundry feeling unusually hot, or a dryer airflow alert. Outside, check whether the vent flap opens while the dryer runs and whether lint is visible; weak airflow is another warning sign.
What's the average cost to clean out a dryer vent?
Dryer vent cleaning commonly costs about $100 to $200 in the United States, though prices vary by location, duct length, layout, and how difficult the blockage is to remove. Ask for a written quote before work begins.
Sources
- Safety Tips to Prevent Clothes Dryer Fires - City of Melbourne, FL, melbourneflorida.org,
- Dryer Vent Length and Material: What the Manuals Allow, dryerrepair.center,
- NFPA Safety Tips - Chimney Safety Institute of America (CSIA), dryersafety.org
More in Laundry
- How to Wash Cashmere Without Shrinking or PillingHow to wash cashmere without shrinking or stretching it: get gentle hand and machine steps, flat-drying advice, and quick stain fixes for your sweater.
- Bio vs non-bio detergent: which should you use?Bio’s enzymes shift food, blood, sweat and grass even in a cool wash, but damage wool and silk. Which to use for which load, and what labels say about skin.

- How to get colour run out of clothesWhites came out pink or grey? Keep them damp and out of the dryer, rewash cool without the culprit, then try an oxygen soak before a colour run remover.
Stain Finder: a free stain removal guide
Find your stain