How to Remove Limescale from Shower Head, Step by Step
How to remove limescale from shower head: use a vinegar soak and gentle scrub, with steps for fixed or detachable heads, plus safe cleaner choices.

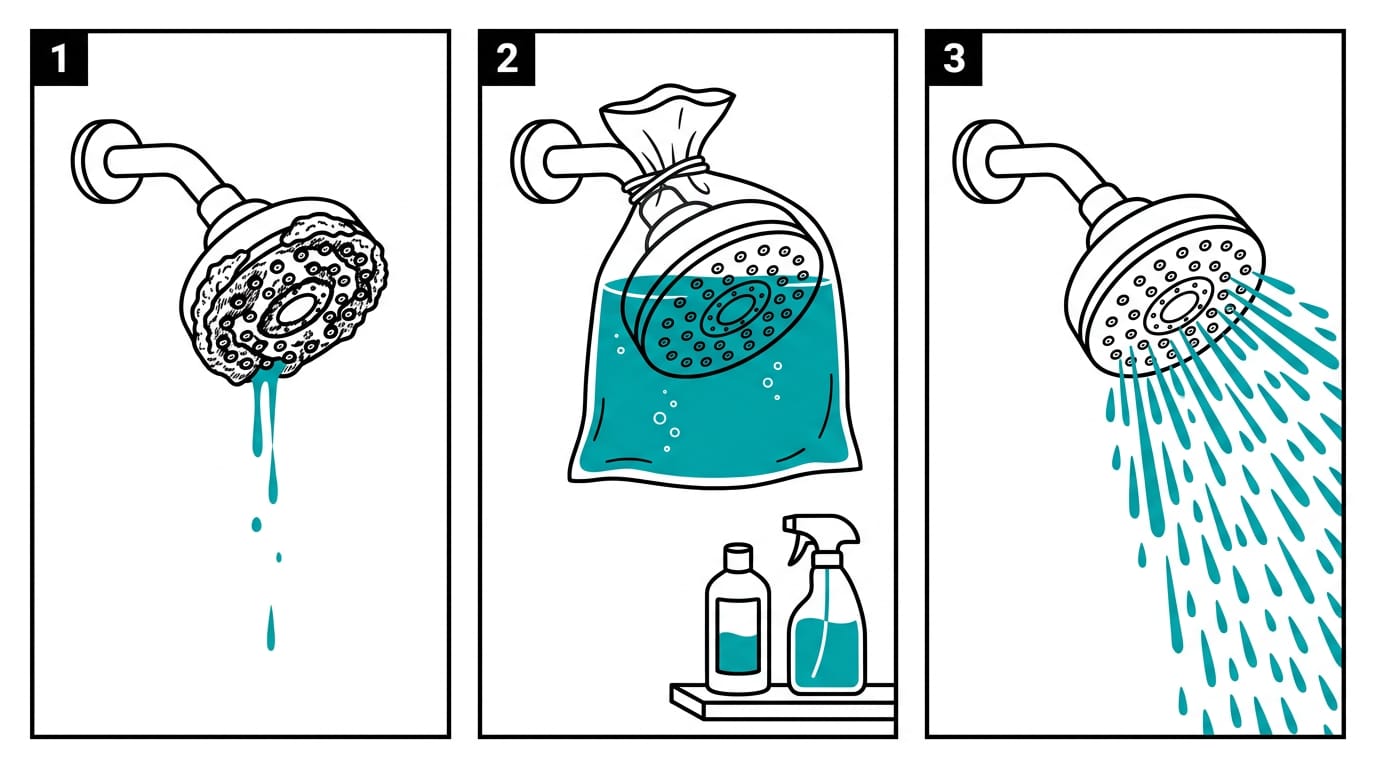
Limescale is the hard, chalky mineral buildup left when hard water dries on shower-head nozzles, clogging holes and weakening the spray. Soak the head in white vinegar, scrub gently, rinse, and repeat for stubborn deposits; check the finish first, since vinegar can damage some coatings. Drying the head after showers and cleaning it regularly helps prevent buildup and keep water flowing evenly.
Think about the chalky crust that builds up inside a kettle. Your shower head is quietly doing the same thing.
When hard water dries on the nozzles, it leaves behind limescale, a hard white mineral deposit that clogs the tiny holes and turns a strong spray into a weak dribble.
The good news is you don’t need a specialist product. A soak in a cupboard staple like white vinegar loosens most buildup, then a gentle scrub does the rest.
In this post, we’ll cover fixed and detachable heads, how to tackle hardened deposits, and which products and finishes are safe to use.
Why Limescale Builds up on Shower Heads
Your shower head doesn’t crust up by accident. Knowing where the limescale comes from helps you stop it returning and spot the warning signs early.
Where the buildup comes from
If you live in a hard water area, your supply carries dissolved minerals, especially calcium and magnesium. As the water evaporates, it leaves those minerals behind.
Each shower adds a little more, and over time the deposits harden into the crust you see on the nozzles. Left alone, it only gets worse.
It’s less about how often you shower and more about what the water leaves behind. Soap and shampoo residue forms soap scum alongside the minerals, and damp nozzles can grow mould and mildew.
Think of a renter in a flat with hard water who notices the spray has gone patchy. Catching it early means a quick clean instead of a replacement head.
Warning signs and what they cost you
Your shower usually warns you first. Watch for these signs:
- Reduced water flow. Mineral crust narrows the spray holes, so you lose pressure and a decent shower.
- Clogged nozzles. Blocked holes leave some jets dead while others still work.
- White chalky deposits. A pale, crusty film on the nozzles is the classic sign of mineral buildup.
- Bacterial growth and hygiene. Damp nozzles can host bacteria, which raises hygiene concerns. A study on microbial communities in shower heads found that these communities can include opportunistic pathogens, germs that may pose risks through aerosol exposure, the tiny droplets you breathe in while showering.
- Rough, dry hair. If your hair feels rough or dry after rinsing, mineral residue may be part of the cause.
Catch them early, and the clean stays simple.
Cleaning Your Shower Head Step by Step
Most of this job needs only a few household items and a bit of patience. Work through the steps in order, whether your head unscrews or not.
Gather these tools first
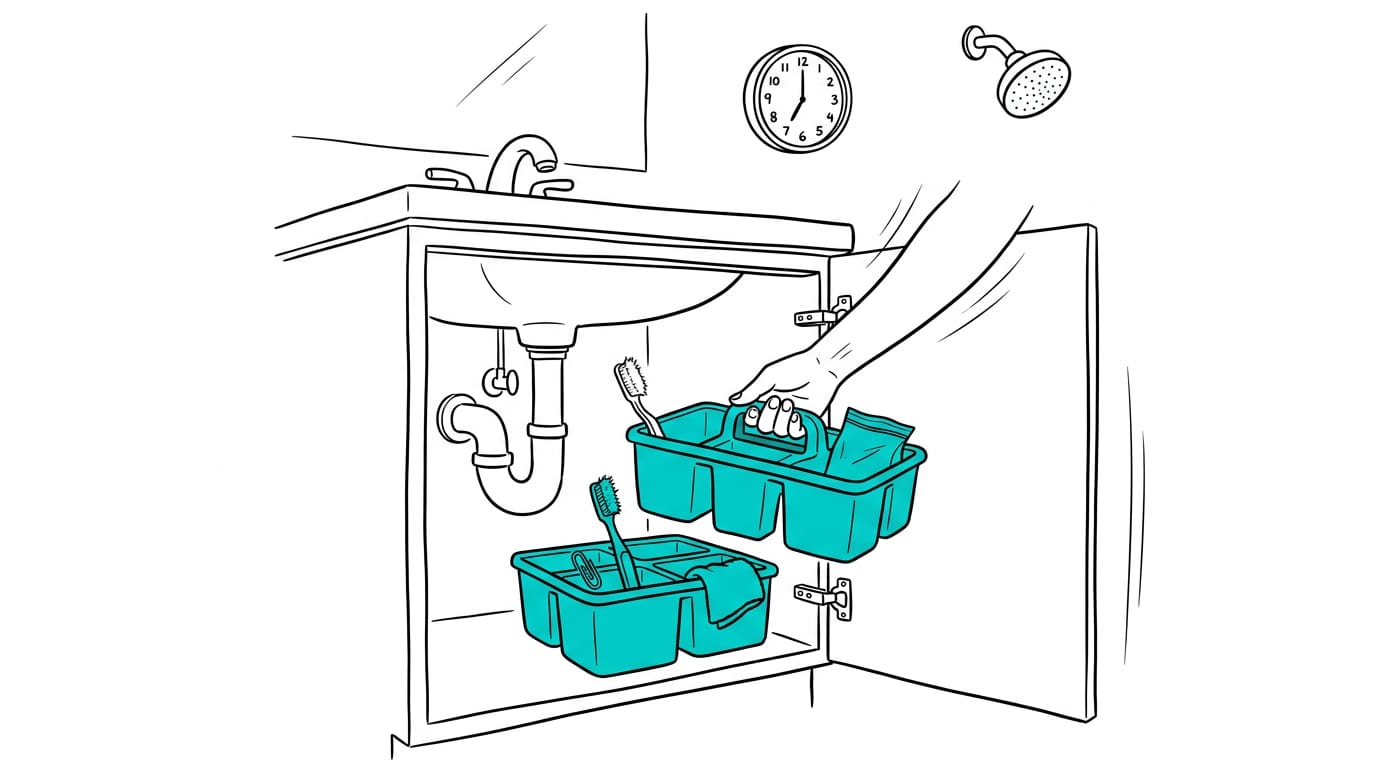
Gather everything before you start, so you’re not hunting for a toothpick with wet hands. You’ll need:
- An old toothbrush for the face of the head
- A paperclip or toothpick for the tiny holes
- A microfiber cloth for drying and buffing
- A plastic bag or bowl for soaking
Think of a parent with a slow shower before the school run who keeps all four in one tub under the sink, so the whole job takes one trip to the bathroom.
Scrub gently, rinse, and test flow
Scrub the nozzles gently with the toothbrush, letting the bristles do the work rather than pressing hard. Rinse with hot water, then run the water to test flow. An even spray means you’re nearly done, while sputtering means another round of scrubbing.
Dry and buff with the microfiber cloth. You’re aiming for flow rather than shine, because a spotless face with blocked holes still sprays badly.
Unscrew it or clean it in place
Unscrew the head by hand if it turns freely, and don’t force it if it’s stiff.
For a fixed head, use the bag method: fill a plastic bag with your descaling solution, tie it around the head so the nozzles sit fully submerged, and leave it. Patience does most of the work.
If a bag won’t sit well, mist the nozzles with a spray bottle of solution instead, let it sit, then wipe clean.
Picture a tenant whose fixed head has gone patchy and sprays sideways. One bag soak and a quick wipe can save a call to the landlord.
Handheld and rainfall heads follow these same steps, while rubber nozzles need a lighter touch: skip sharp tools and work them gently.
How do you remove hardened limescale?
Start by removing the filter screen, since stubborn deposits can collect there. Use pliers or a wrench if it’s stuck, wrapping a cloth around the metal so you don’t mark the finish.
Soak the screen separately in your descaling solution until the deposits loosen, then reattach the head and run hot water through it to flush anything loose.
Hardened limescale rarely gives up after one soak, so plan on repeat soaks. Soak, scrub, rinse, and go again if the deposits still hold.
Clearing out clogged nozzles
For stubborn holes, gently work a toothpick or paperclip into each one, stopping if you feel real resistance.
Keep the water running while you rub the nozzles with your fingers. Loosened scale comes away in small flakes, and the flow carries it out rather than letting it settle back.
If holes stay blocked after repeated soaks, or the spray is still patchy, it may be time to replace the head. Sometimes a new head is simply the fix.
Cleaning Limescale with Vinegar
Vinegar is already in most kitchens, and it’s the easiest first step against limescale, the chalky crust hard water leaves on your shower head. Here’s how we’d use it, and when to stop.
Soak your head in a vinegar bag
Fill a plastic bag with vinegar, then follow these steps:
- Slip the bag over the head, making sure it’s submerged fully, not just the nozzles.
- Secure the bag around the arm with rubber bands so it doesn’t slide off.
- Lay an old towel on the floor or bath edge beneath the bag to catch any drips.
Timing the vinegar soak
- Minimum: never less than one hour.
- Optimal: 4 to 12 hours, according to a limescale guide from Softer Tap.
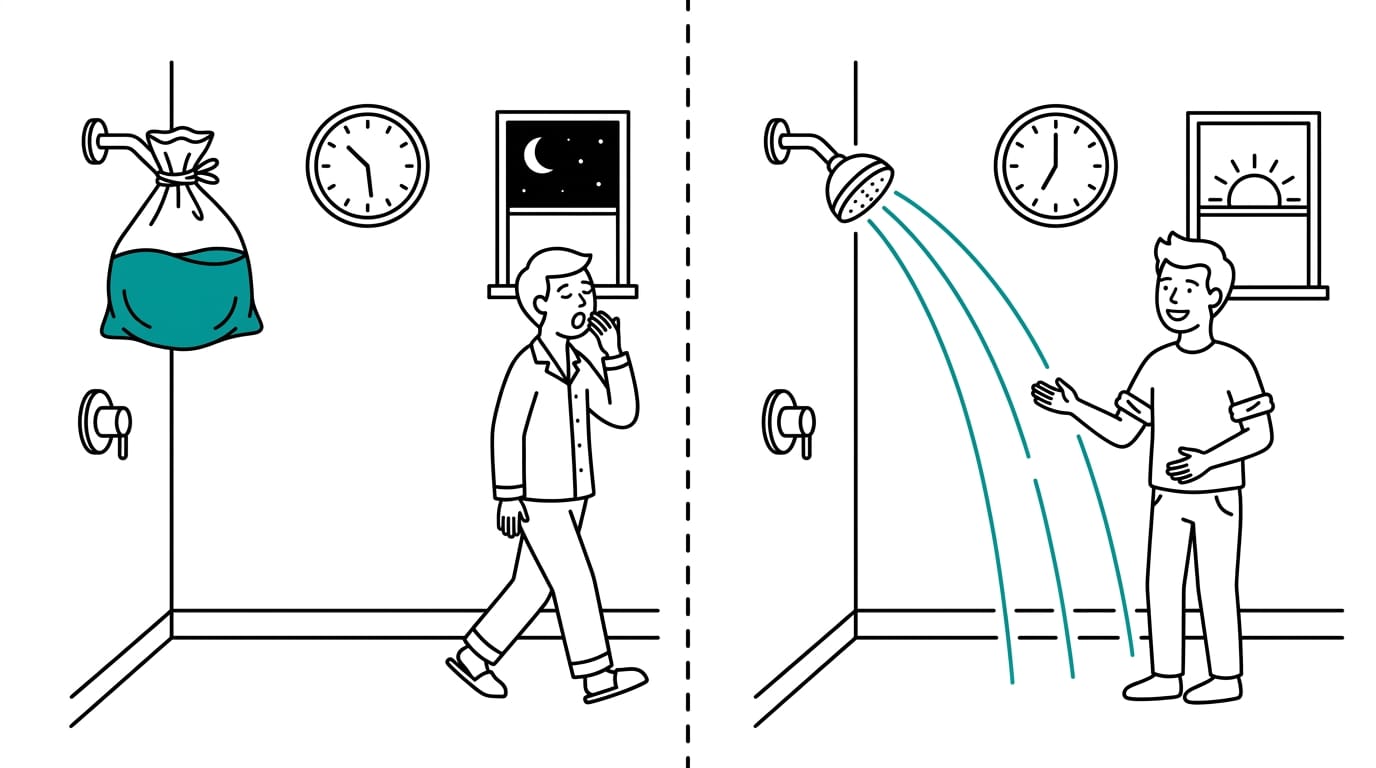
- Tough blockages: leave it overnight.
Consider a tenant who starts the soak at bedtime. By morning the shower is working again, with no call to the landlord needed. Time does the heavy lifting.
Vinegar types and mixes to try
Here are the options, and when each one fits:
- Distilled white vinegar: your default for the full bag soak.
- Apple cider vinegar: a workable alternative if that’s what’s already in your cupboard.
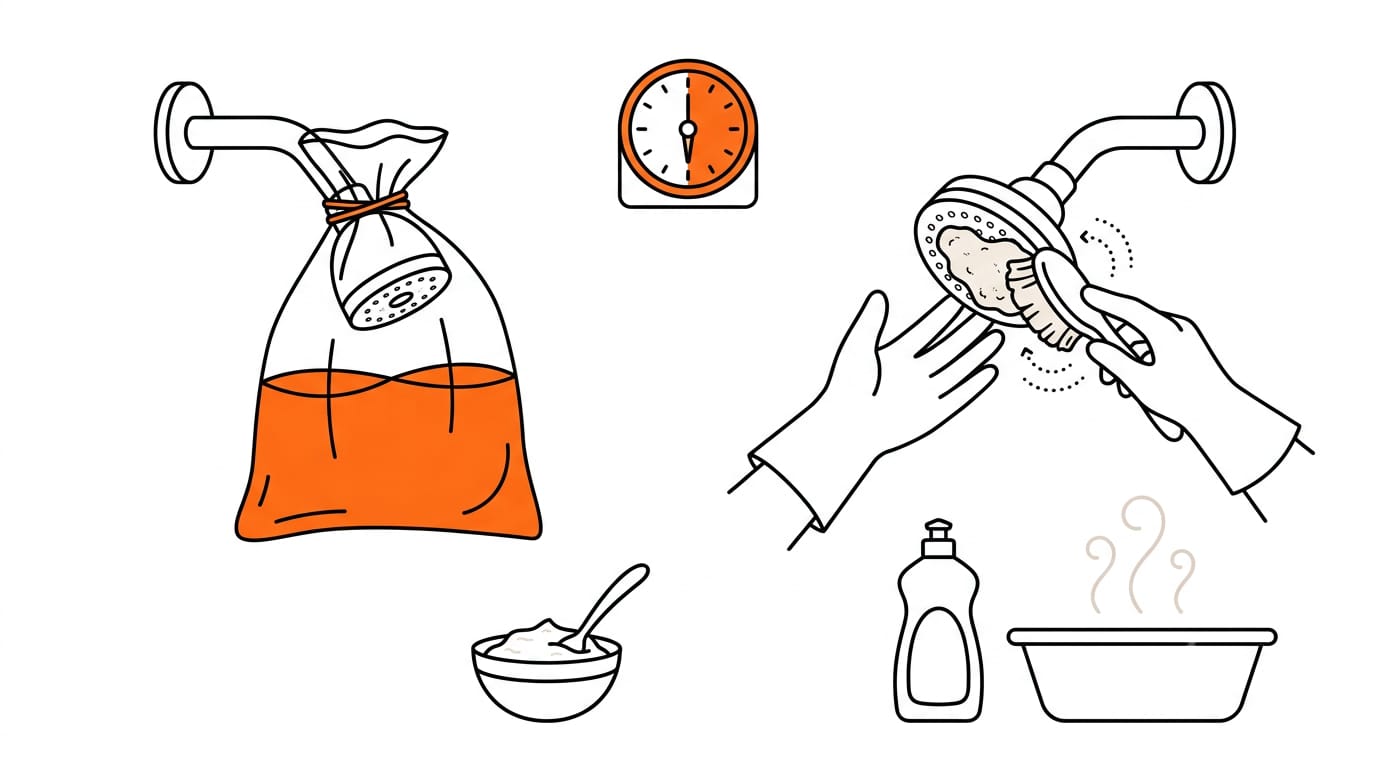
- Vinegar and baking soda paste: for stubborn spots you can scrub by hand.
- Equal parts vinegar-water spray: one part vinegar to one part water, for quick wipe-downs between soaks.
Think of the paste as a spot treatment rather than a full soak. Never mix vinegar with bleach.
When vinegar can damage finishes
Vinegar is an acid, and acid can damage the protective coating on some finishes, so check yours first.
- Brass: keep the soak to 30 minutes at most.
- Nickel: skip the vinegar soak altogether.
- Any finish: spot-test a hidden area, such as the back of the head, before the full soak.
Consider a host with a brass head in the guest bathroom. A 30-minute timer and a quick rinse give guests a working shower while the finish stays protected. Test first, soak second.
Natural and Other Cleaners to Try
Start with what’s in your kitchen, and move to a ready-made product only if the buildup won’t shift.
Using lemon to loosen buildup
Lemon is a good first try because it’s acidic and probably already in your fruit bowl. Aim to loosen the deposits, not blast them off.
- Cut lemon rub: Rub the cut side of a halved lemon over the limescale.
- Lemon juice soak: Submerge the head in lemon juice and water.
- Lemon juice and water mix: Spray the mix onto the face for a quick wipe-down.
- Lemon and baking soda paste: Stir lemon juice into baking soda, then smear it over the buildup.
Soaking with supermarket citric acid powder
Citric acid is sold as a powder in supermarkets, so it’s an easy add to your shop.
- Mixing: Stir one teaspoon into a bowl of water.
- 15-minute soak: Leave a detachable head to soak for 15 minutes.
- Spray bottle for fixed heads: Pour the solution into a spray bottle and mist the face, since a fixed head can’t be soaked.
- Gentle on metal and rubber: Citric acid is kind to both.
For example, a tenant with a chalky fixed head can mist it, wait out the 15 minutes, and wipe it clean without unscrewing anything. No tools, no fuss.
Everyday household items that help
- Baking soda paste: Mix baking soda with a little water, then scrub it on gently.
- Dish soap and warm water: Clear everyday grime first so the next step has a clean surface.
- Hydrogen peroxide 30-minute soak: Soak the head for 30 minutes.
What’s the best limescale remover for shower heads?
There’s no single best product for every head. The right one suits your head’s finish and how stubborn the buildup is, not the one with the boldest label.
- Durgol descaler: a ready-made option for when cupboard basics haven’t shifted the buildup.
- CLR remover: the other ready-made option to weigh up, with the same label checks.
- Follow label instructions: Use the strength and soak time printed on the bottle.
- Dilute in glass jar: Mix the descaler to the label’s strength in a glass jar.
- Choosing a finish-safe descaler: Check the label says it’s safe for your head’s finish. Skip that check and you’re guessing.
Keeping Limescale from Coming Back
Once the head is clean, a little routine keeps chalky deposits from building up again. Here’s how to set that up, from a quick weekly spray to habits that tackle the problem at the source.
Setting a schedule for cleaning
Match your rhythm to how often you shower and how much hard water your home carries. A simple plan looks like this:
- Weekly: Spray the head with white vinegar solution, leave it for a few minutes, then rinse.
- Monthly: Give the head a full clean, removing it first if it unscrews, and check the holes for crust.
- Every 2 to 3 months: Soak the nozzles for a deeper clean.
- Every three months minimum: Never leave it longer than this, even if it looks clean.
Hard water means shorter gaps. Think of a tenant in a rented flat whose shower slows to a trickle within weeks. By switching to a weekly spray instead of waiting for the monthly clean, they stop the crust from blocking the holes and keep the flow steady.
Before tenancy check-out, descale the head so the shower looks cared for when the keys go back.
Daily habits and long-term fixes
Small habits do most of the work. Wiping the head dry after each shower is prevention rather than cure, and it takes seconds. For the bigger picture, these fixes help:
- Water softener: Install one to reduce the minerals that cause limescale in the first place.
- Filtered water final rinse: Finish cleaning with a rinse of filtered water to leave less residue behind.
- Add to cleaning routine: Put the head on your regular bathroom checklist so it never gets skipped.
Stay ahead of it. A few seconds now saves a long scrub later.
Clearing limescale comes down to a few simple moves: soak it with a cupboard staple, scrub gently, and pick products that suit your finish.
Work through them in that order and your shower head has a good chance of getting its strong spray back on the first try.
Keep an eye on the nozzles as you go, and tackle buildup early so it has less chance to harden again. A clean shower head is a small win, but it’s one you’ll notice every single morning.
References
- MICROBIAL COMMUNITIES IN SHOWER HEAD BIOFILMS: ECOLOGY, DETECTION, AND PUBLIC HEALTH SIGNIFICANCE — doi.org (2026)
- How to Remove Limescale: Kettles, Showers, Taps & Heaters — softertap.com (2026)
Questions
What is the best product to remove limescale from a shower head?
There is no single best limescale remover for every shower head. White vinegar is a good first choice for most buildup, while Durgol or CLR can help when household cleaners do not; check the product label to make sure it is safe for your shower head’s finish.
How to clean a shower head with baking soda and vinegar?
For a stubborn spot, mix vinegar and baking soda into a paste and gently scrub it onto the buildup, then rinse well. Avoid using the mixture as a full soak, and never mix vinegar with bleach. Test vinegar on a hidden area first, and avoid soaking nickel finishes; limit brass soaks to 30 minutes.
How do you remove hardened limescale?
Remove the filter screen if possible and soak it separately in a descaling solution until the deposits loosen. Hardened limescale may need repeated soak, scrub, and rinse cycles; gently clear clogged nozzles with a toothpick or paperclip, stopping if you feel resistance.
How to descale a shower head without vinegar?
Use a citric acid solution instead: dissolve one teaspoon of citric acid powder in a bowl of water, then soak a detachable head for 15 minutes. For a fixed head, mist the solution onto the nozzles, wait 15 minutes, and wipe clean. Lemon juice is another acidic option.
How to clean calcium buildup?
For calcium buildup, soak the shower head in white vinegar, then gently scrub and rinse it. For stubborn deposits, repeat the soak or use a citric acid solution; check that the cleaner is safe for the head’s finish before using it.
Will hydrogen peroxide clean a shower head?
Hydrogen peroxide is listed as a household option for cleaning a shower head, with a 30-minute soak. Rinse the head thoroughly afterward and check its manufacturer’s care instructions before soaking it.
Sources
More in Bathroom
- How to remove limescale from taps, showers and toiletsHow to dissolve limescale on taps, showerheads, screens and toilets with the acid each can take, what acids damage, and why descaler never meets bleach.
- How to Remove Paint from Tile: A Complete GuideHow to remove paint from tile depends on whether it’s wet, dry, water-based, or oil-based. Use cupboard staples to lift paint from tile and grout safely.
- How to Whiten Grout: Bleach, Peroxide, Soda or VinegarHow to whiten grout: Compare bleach, bicarbonate, peroxide, and vinegar by grout type and surface, then use a stain-first fix order to brighten it safely.
Stain Finder: a free stain removal guide
Find your stain