P Trap Cleaning: How to Clear a Slow Drain
P-trap cleaning can clear a stubborn sink clog without harsh chemicals. Follow the removal steps and leak-test the pipe before you walk away.

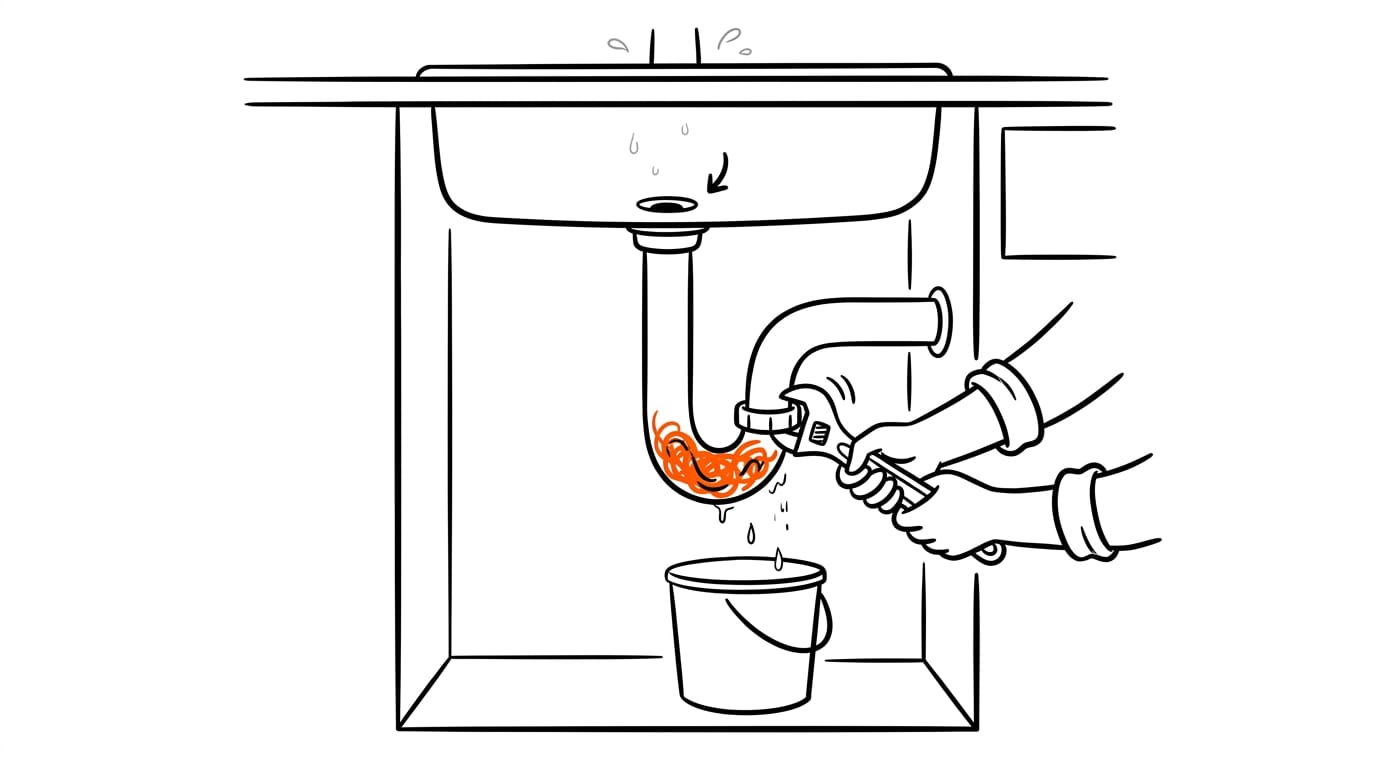
P-trap cleaning means removing and washing the curved pipe beneath a sink, where trapped water blocks sewer smells and hair, grease, soap, or food can build up. Put a bucket and towel underneath, remove the trap, clear and rinse it, check the washers, then reassemble and test every joint for leaks. If the drain stays slow, several fixtures back up, or water rises, the blockage may be farther down the line and needs a plumber.
Picture this: the sink gurgles, and the water just sits there, refusing to go down. The likely suspect is the curved pipe under the sink, called the P-trap.
Its bend holds a little water to block smells, but it’s also where hair, grease, and soap scum love to collect.
The good news is you don’t need a plumber or harsh chemicals to fix it. In this post, we’ll cover spotting the clog, removing and cleaning the trap, and leak-testing it before you walk away.
P Trap Cleaning and Why It Clogs
Slow water and a sour smell under the sink usually point to one spot: the P-trap, the curved pipe below the basin. Here’s what fills it and how to spot trouble early.
How the curved pipe under sink works
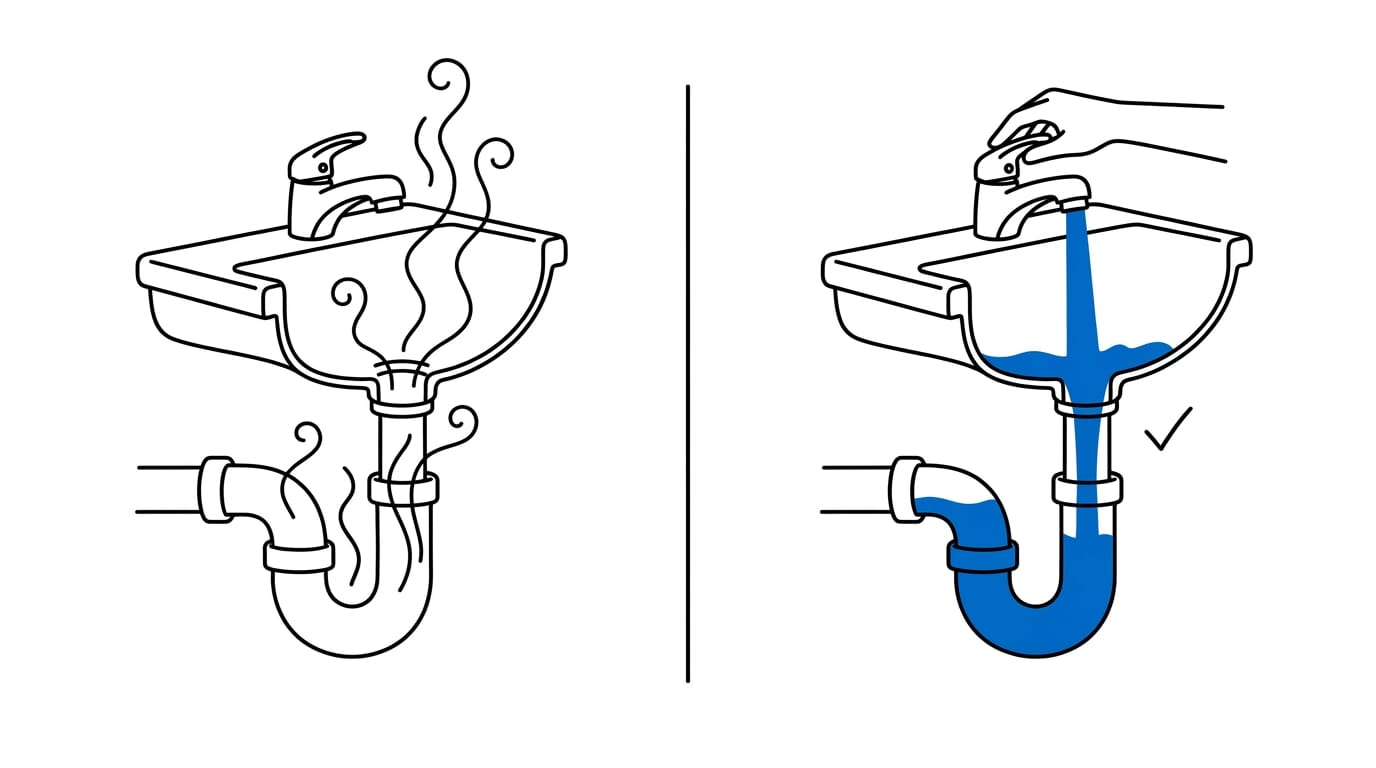
The curved pipe under your sink holds a small pool of water, called the water seal, which blocks sewer gases from climbing into your room. The bend’s real job isn’t moving water along. It’s sealing the room off from the drain. Water is the lock.
Hair, grease, and other common clog culprits
A few usual suspects cause most clogs:
- Hair and grease: Hair tangles in the bend, and grease cools and sticks to it, forming a mat that catches everything else.
- Food and toothpaste: Scraps and dried paste cling to the pipe walls and narrow the opening.
- Foreign objects: Toys like Legos can slip down the drain and lodge in the curve.
Think of a parent whose bathroom sink drains a little slower each morning after the kids brush their teeth and wash their hair. Catching it early keeps a slow sink from becoming a full blockage.
Signs your trap is clogged or smelly
Two warning signs usually show up first:
- Slow draining sink: Water pools longer than it should before it disappears.
- Unpleasant odor: A sour or musty smell from the drain means the trap needs a closer look.
To get rid of a smelly P-trap, first check whether it’s dry or gunky. A dry trap happens when the water seal evaporates, often on a sink that rarely gets used. Think of a host whose guest bathroom sat unused all summer.
Its water dried out and let gases creep up. Running the tap refills the seal, and the smell usually fades. If the odor lingers, the trap is probably gunky, and the cleaning steps later in this guide will walk you through clearing it.
What You Need Before You Start
Before you touch the P-trap (the curved pipe under your sink that holds a little water to block smells), gather everything you need. Most of it is probably already in the house, so you won’t need a trip to the shop.
The basic tools you’ll need
This isn’t about owning a lot of gear. It’s about having the right few things ready before the first nut turns. Nothing kills momentum like hunting for pliers with water dripping onto your socks. Get it all out first.
- Bucket or bowl. Catches the water and grime that spill out when the trap comes off.
- Towels or rags. Mop up drips as you go, and keep a spare nearby.
- Rubber gloves. Keep your hands clean and protected from whatever has been sitting in the pipe.
- Pliers or wrench. Loosen the nuts that hold the trap in place.
Helpful extras that make the job easier
These aren’t essential, but they save time and frustration:
- Brush or wire hanger. Helps pull out hair and gunk packed into the pipe.
- Flashlight. Lets you see exactly what’s blocking the trap before you reach in.
- Rubber jar opener. Gives you extra grip on stubborn nuts, especially when your hands are wet or slippery.
Consider a parent whose kitchen sink has been draining slowly all week. A flashlight shows them where the clump sits, a wire hanger helps fish it out, and the sink is clear again before the evening’s washing-up.
Step-by-step P Trap Cleaning
Cleaning a P-trap (the U-shaped bend under your sink that holds a little water to block smells) is a manageable job once you know the order. Check whether yours is plastic or metal first, since that decides how hard it’ll be to loosen.
Get your workspace ready first
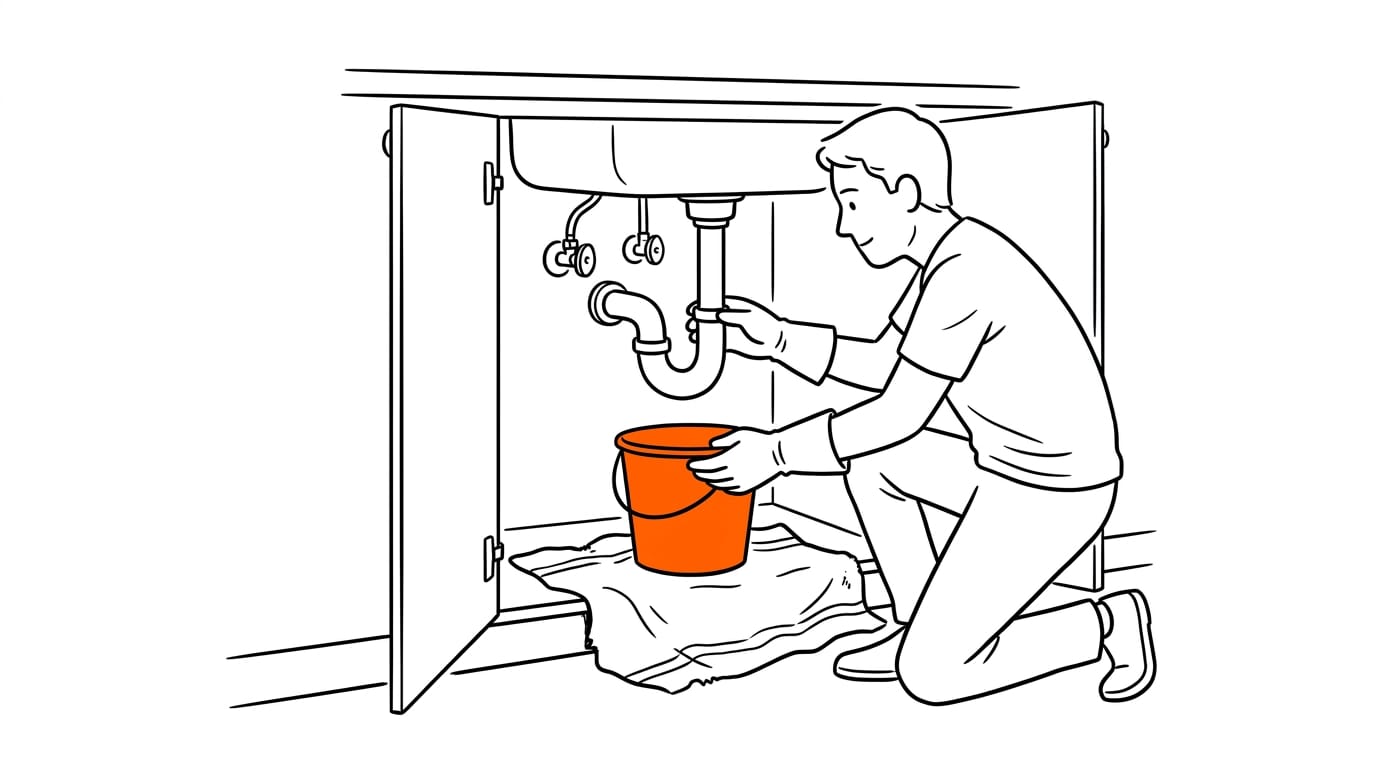
- Place a bucket directly under the trap to catch the water and debris.
- Lay an old towel over the cabinet floor.
- Pull on gloves, since the trap holds whatever has gone down the sink.
- Optionally, shut off the water under the sink if there’s a valve.
Consider a renter whose kitchen sink has slowed after a week of pasta water and cooking grease. With a bucket and towel ready, they clear the blockage without soaking the floor, and the sink drains again before dinner.
Loosen and lift the trap out
- Loosen the slip nuts (the large nuts that join the trap to the pipes) by hand first.
- If a nut won’t budge, use steady pressure with pliers rather than brute force, wrapping metal parts in a cloth to protect the finish.
- Plastic traps usually come loose by hand, while metal ones are heavier and stiffer, so expect to reach for pliers sooner.
- Lower the trap into the bucket, angling it so the water drains out.
- Empty the contents into a bag or bin, not down the drain you’re fixing.
Scrub, rinse, and disinfect the trap
The trouble usually lives on the inside.
- Rinse the trap with warm water to loosen grease and debris.
- Scrub the inside, not just the outside, with a brush or bent wire hanger, pulling out hair and sludge.
- Clean the trap in a separate sink, like a laundry or utility sink, so you’re not scrubbing near food prep.
- Make sure the trap runs clear: pour water through it and watch it drain freely from both ends.
- Disinfect the trap with your usual household disinfectant, then rinse it along with your brush or hanger.
Check the connecting pipes and washers
- Check the tailpiece (the short pipe dropping from the sink into the trap) and the wall pipe (the pipe running from the trap into the wall) for cracks, corrosion, or stubborn gunk.
- Inspect the washers (the rings that seal each joint) to make sure they’re seated and uncracked. A cracked washer won’t seal, so swap it out before reassembling.
Putting it back together without leaks
Reassemble in reverse order, with each washer seated in its joint.
- Hand-tighten the slip nuts first.
- Avoid overtightening. Aim for snug rather than tight, since too much force can crack plastic nuts and washers.
- Run water and check for leaks. Wrap a dry paper towel around each joint to spot drips quickly.
- Tighten slightly if dripping, with a small extra turn of the nut, then test again.
Dry joints mean you’re done.
When Home Fixes Aren’t Enough
Sometimes the kitchen sink simply won’t cooperate, however carefully you work through the trap. Knowing when to stop and call for help saves time, and it can save your pipes.
A slow drain that won’t clear up
If your kitchen sink is still clogged after you’ve cleared the trap, the blockage may sit deeper. Think of a parent who rinses a greasy frying pan down the sink every evening: the trap looks clear, yet the water keeps lingering.
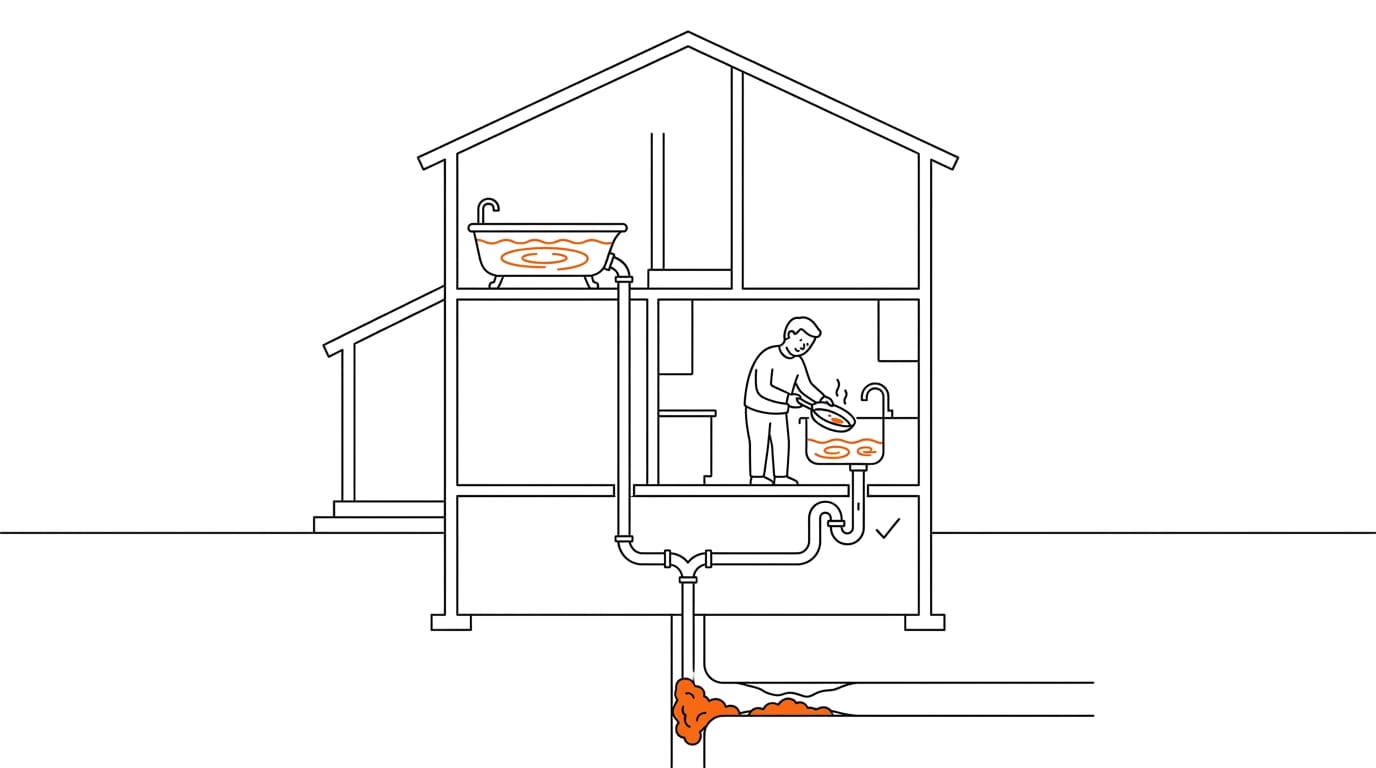
If more than one sink or tub in the house drains slowly, the clog is likely further down the drain line, past anything you can reach from under the sink. Catching it early means a single call instead of weeks of slow mornings.
Hire a plumber for stubborn clogs
When a clog won’t budge, a plumber can work further down the line than you can from under the sink. Watch for backed-up drains, where water rises in the sink or shower instead of draining away. That’s your cue to stop pouring and make the call.
Many plumbers offer same-day service, which matters when the kitchen sink is the only one you’ve got.
Why do plumbers say not to use drain cleaner?
Many plumbers would rather you skip the bottle altogether, and the reason is simple.
According to Kemikalieinspektionen’s questions and answers about drain cleaners, chemical drain cleaners can corrode pipe material and the protective plastic film lining the inside of main lines, and they don’t remove the physical buildup that blocks a drain.
So you risk your pipes and still end up with a blocked sink. That’s a bad trade.
Keep Your Drain Clear over Time
Clearing a trap fixes today’s blockage, but keeping it clear is about habits rather than heroics. Four small routines keep things flowing:
Regular small maintenance
A quick routine stops gunk from packing the trap. Think of a parent who runs water down the kitchen sink after the dinner dishes, so food bits never settle in the bend. It takes seconds.
Vinegar comes up a lot as a drain tip, so should you pour it down yours? We don’t have evidence that it clears a clog, so don’t count on it. Physically clearing the trap is still the answer.
Clear connecting pipes early
The trap is only part of the system. If a shower starts draining slowly, the pipe leading to the trap may be filling up too. Consider a flatmate who notices and clears that pipe the same week, before the bathroom floor is wet every morning.
Prevent future backups
The goal is to prevent backups rather than fix them later. Keep things like wipes and coffee grounds out of the plughole.
Think of a host with weekend guests who sets a small bin by the sink, so nobody uses the plughole by default. Less mess, fewer surprises.
Hair catcher and grease habits
Fit a hair catcher in the shower plughole and empty it after every use. It stops hair before it reaches the trap. In the kitchen, wipe greasy pans with kitchen paper before they go in the sink, and bin the scraps.
Picture a student sharing a kitchen who pours cooled bacon fat into a jar instead of the sink, so the shared drain stays clear.
Clearing a P-trap is a job you can handle yourself, with basic tools and a no-chemicals approach. Work through the steps, test for leaks before you walk away, and you’ll have a sink that drains fast and first time.
Keeping it that way is mostly about small habits: catching hair and grease early and checking the trap now and then. It’s a little attention today that keeps the sink draining well and smelling fresh for the long haul.
References
- Questions and answers about drain cleaners — kemi.se (2026)
Questions
How to get rid of a smelly P-trap?
If the smell is from a dry P-trap, run water into the sink to refill its water seal, which blocks sewer gases. If the odor remains, the trap may contain buildup: place a bucket underneath, remove the trap, clean it with warm water and a brush, then reinstall it and check for leaks.
Why do plumbers say not to use drain cleaner?
Chemical drain cleaners can corrode pipes and the protective lining inside main drain lines, and they may not remove the physical buildup causing the blockage. That can leave you with a clogged drain and damaged pipes, so plumbers often recommend clearing the obstruction mechanically instead.
Should you pour vinegar down your drain?
Vinegar is not a reliable way to clear a drain clog, so don't count on it to fix a blockage. For a clogged P-trap, remove and clean the trap; for a deeper or stubborn clog, contact a plumber.
My kitchen sink is clogged. How can I unclog it?
Place a bucket and towel under the P-trap, then loosen its slip nuts and lower the trap into the bucket. Remove the debris, scrub the inside with a brush or bent wire hanger, rinse it, and check the connecting pipes and washers before reassembling. Run water and check each joint for leaks; if the sink remains clogged or other drains are slow, the blockage may be deeper in the line and you should call a plumber.
Sources
More in Floors & Carpets
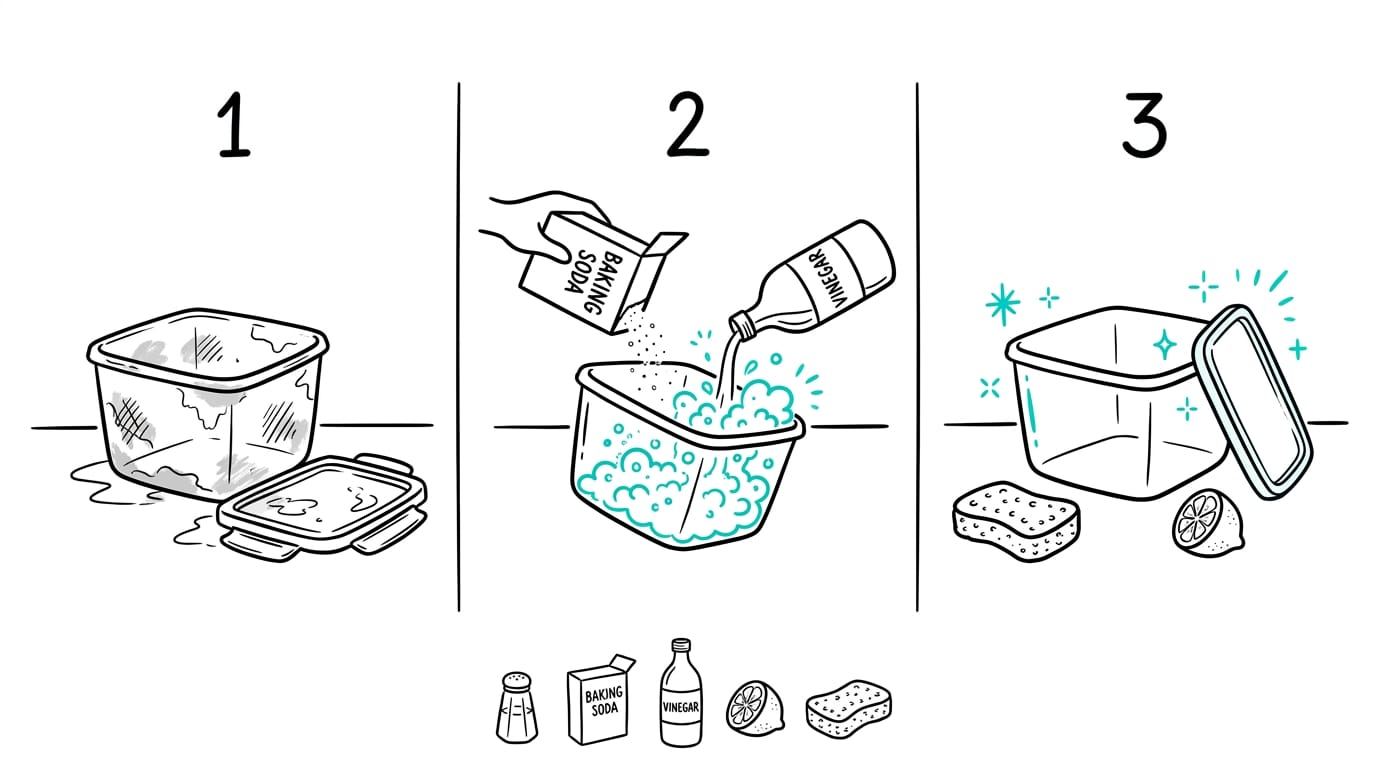
- Cleaning Plastic Step by Step, with Pantry StaplesCleaning plastic tackles food stains, smells, cloudy clear plastics, and safe disinfection with cupboard ingredients, plus when to replace old containers.
- Self-cleaning Explained: Meaning, Examples, and Care TipsSelf-cleaning means a feature handles much of its own cleanup. See where it appears around the home and understand the related terms you'll encounter.
- Isopropyl Alcohol for Cleaning: A Complete GuideIsopropyl alcohol for cleaning can lift ink, grease, and sticky labels. Choose the right strength and protect upholstery and surfaces it can damage.
Stain Finder: a free stain removal guide
Find your stain