Remove Water Stains from Wood, Gentlest Fixes First
Remove water stains from wood by first telling white rings from black marks and finish-level stains from damage in the wood, then choosing the right fix.

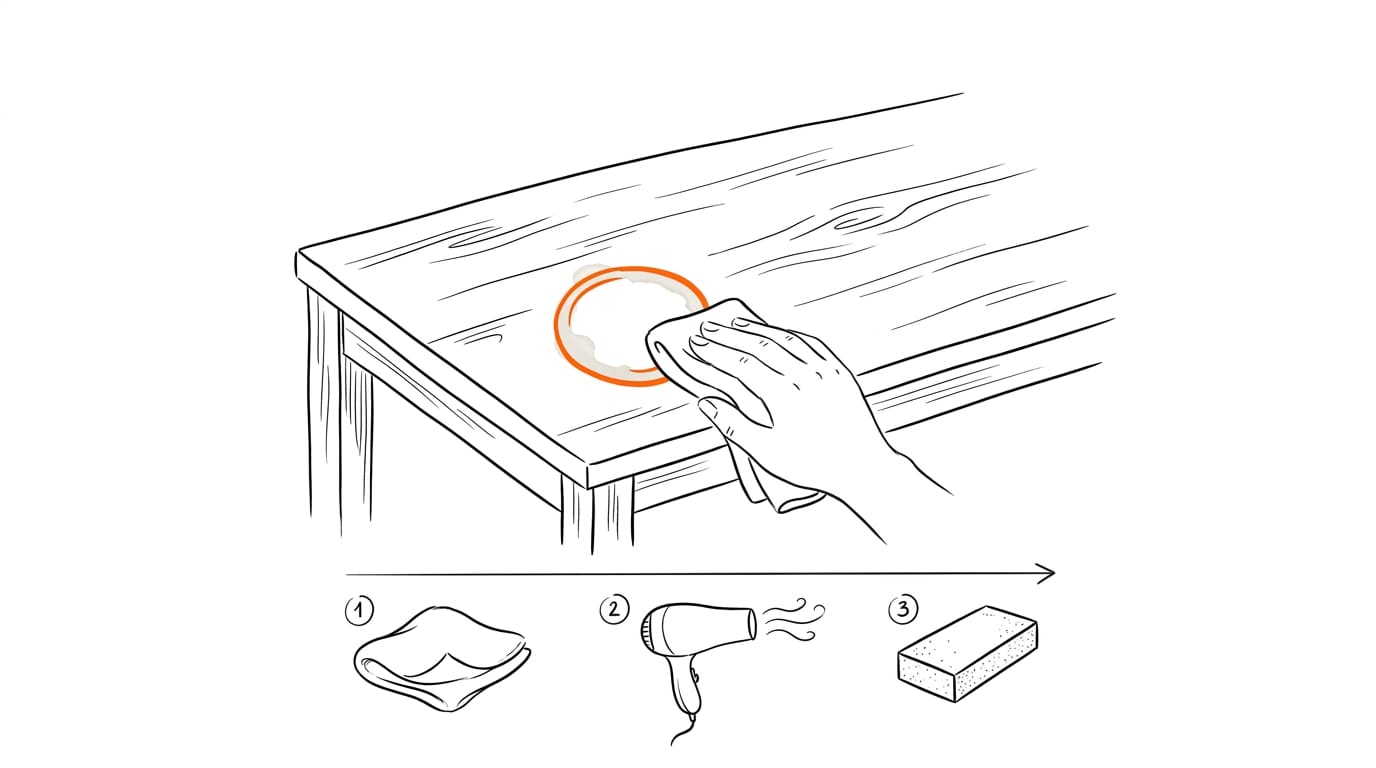
Water stains on wood are marks caused by moisture trapped in the finish or by water reacting with tannins inside the wood. White marks usually respond to gentle methods such as brief, dry ironing through a towel, while dark marks may need a tannin remover; test any treatment on a hidden spot and work up to sanding only if needed. If sanding is necessary, refinish the whole surface for an even appearance, then prevent new marks with coasters and prompt wipe-ups.
Picture a mug left on the coffee table overnight. Morning brings a pale ring staring back at you from the wood. Most water stains are more fixable than they look, once you know what you’re dealing with.
A white mark and a black one need very different treatment, and so does a stain sitting in the finish versus one soaked into bare wood.
We’ll help you tell them apart, then walk through the methods from least to most invasive, starting with simple kitchen fixes and ending with sanding and refinishing.
Understanding Water Stains Before You Remove Them
Before you pick a method, know what kind of mark you’re facing. Telling light and dark water stains apart shows you where to start.
Why light and dark stains form
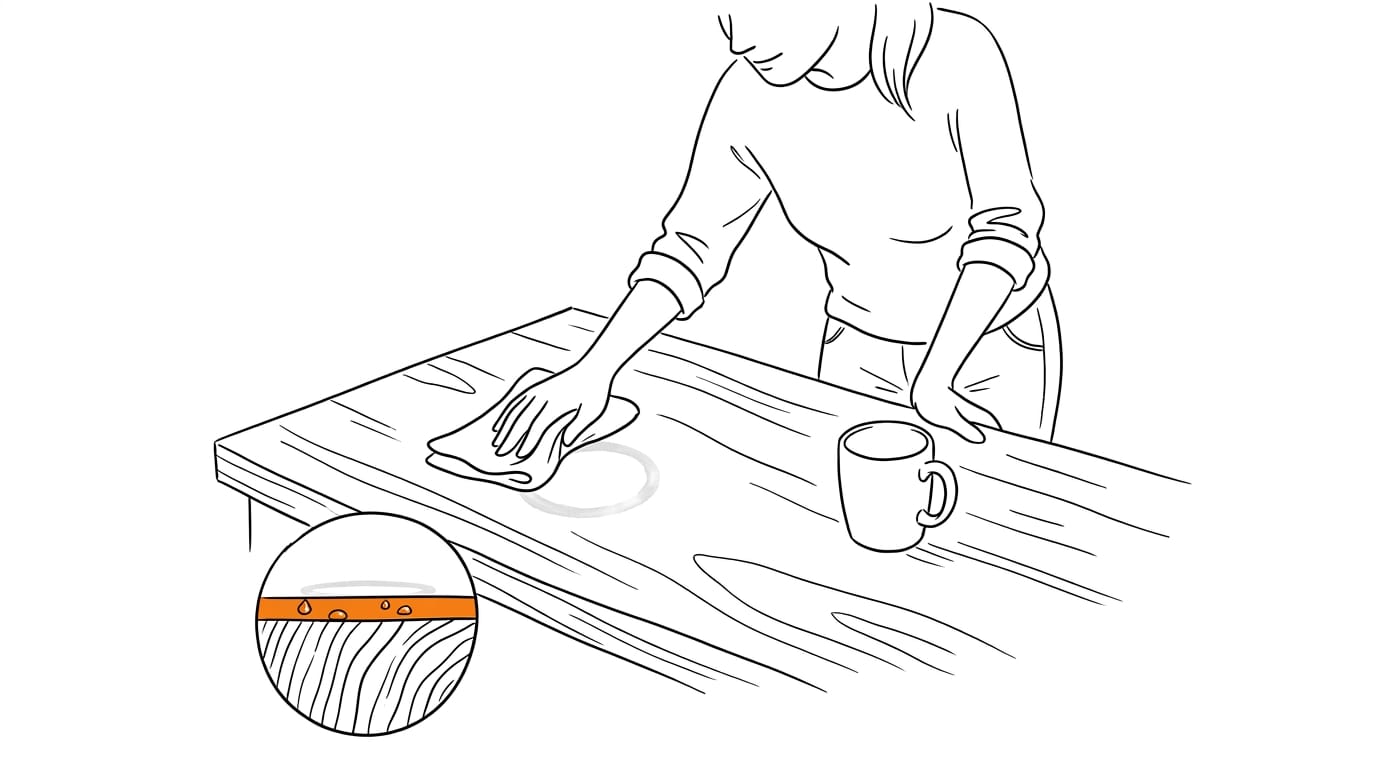
White rings are the light marks left after a cold glass or mug sits on a table. They form when moisture gets trapped in the finish, the sealed layer on top of the wood, so the mark sits on the surface rather than in the wood.
Common causes include a spill left to dry, a glass ring on a sideboard, and condensation on a kitchen worktop overnight. Deep soaking can also raise the wood edges.
Take a home cleaner who finds a white circle on an oak worktop after a mug sat there overnight. Knowing it’s trapped moisture, not damage to the wood, tells them to start gently and save the worktop.
So how do you remove a white circle from a wood table? The methods come later in this guide, but diagnosis comes first. Because the cause is usually moisture in the finish, start with the least invasive option and move on only if it doesn’t lift.
How water reacts with wood tannins
Dark stains work differently. Woods like oak, cedar, and walnut contain natural tannins, which react with water to leave the dark, black rings and streaks you see. This is tannic acid discolouration, and the mark has gone into the wood itself.
Here’s a quick way to tell them apart:
- White marks: moisture trapped in the finish, usually a cloudy ring or haze.
- Black marks: tannins reacting with water inside the wood, leaving dark rings or streaks.
Check the colour before you touch anything.
Home Fixes to Remove Water Stains
Most water stains respond to things you already have at home, so you won’t need to buy anything new. Work through these methods from gentlest to most invasive, and stop as soon as the mark fades.
Iron through a towel over the stain
Lay a clean towel over the stain, then set your iron to a medium heat. Press it onto the towel in brief intervals rather than one long stretch, and check the mark between passes. Repeat until the stain has faded. Patience wins.
Consider a home cleaner who spots a water ring on a client’s kitchen worktop halfway through a shift: they can try this on the spot with just a towel and an iron, and have the surface sorted before the client gets home.
Burn risk is the main thing to watch, since too much heat can burn the wood or the finish, so keep the iron dry with no steam and never leave it sitting in one place.
Why does mayonnaise remove water stains?
Rub a thin layer of mayonnaise onto the stain, cover it with paper, and leave it to soak for hours or overnight. Full-fat mayo is the one to reach for.
Mayonnaise contains both oil and moisture, and that combination is why people suggest it for water marks, but results are mixed. Think of it as worth a try rather than a guaranteed fix.
Gently rub a baking soda paste
Mix baking soda with a little water until it forms a paste. Rub gently along the wood grain, not across it, and let the paste do the work rather than pressure. This works best on fresh stains, so act quickly when you spot one.
Once the mark has faded, finish with furniture wax.
Toothpaste often gives little improvement
Toothpaste is a common suggestion, but it often gives little improvement. If you try it, rub briefly, then wipe the area with a damp cloth. Keep the rubbing short, because it can strip the finish off the wood.
Rubbing oil with salt or vinegar
Mix equal parts oil and salt or vinegar, then rub the mixture along the grain. Polish the area afterwards. This method may show no visible effect, so check the wood before deciding whether to keep going.
Store-bought Cleaners and Stain Removers
Before you reach for sandpaper, try a product from the shop. Light marks often lift with a gentle clean, and only darker ones need something stronger.
Gentle daily sprays for light stains
For a faint white ring left by a damp glass, a daily spray cleaner is your first stop. What’s the best wood cleaner? It’s one labelled for wood finishes, mild enough to use often, and free of harsh ingredients.
Think of a home cleaner wiping an oak kitchen worktop after a cold drink has sat too long. A quick spray and a soft cloth, wiped along the grain, is often enough to start.
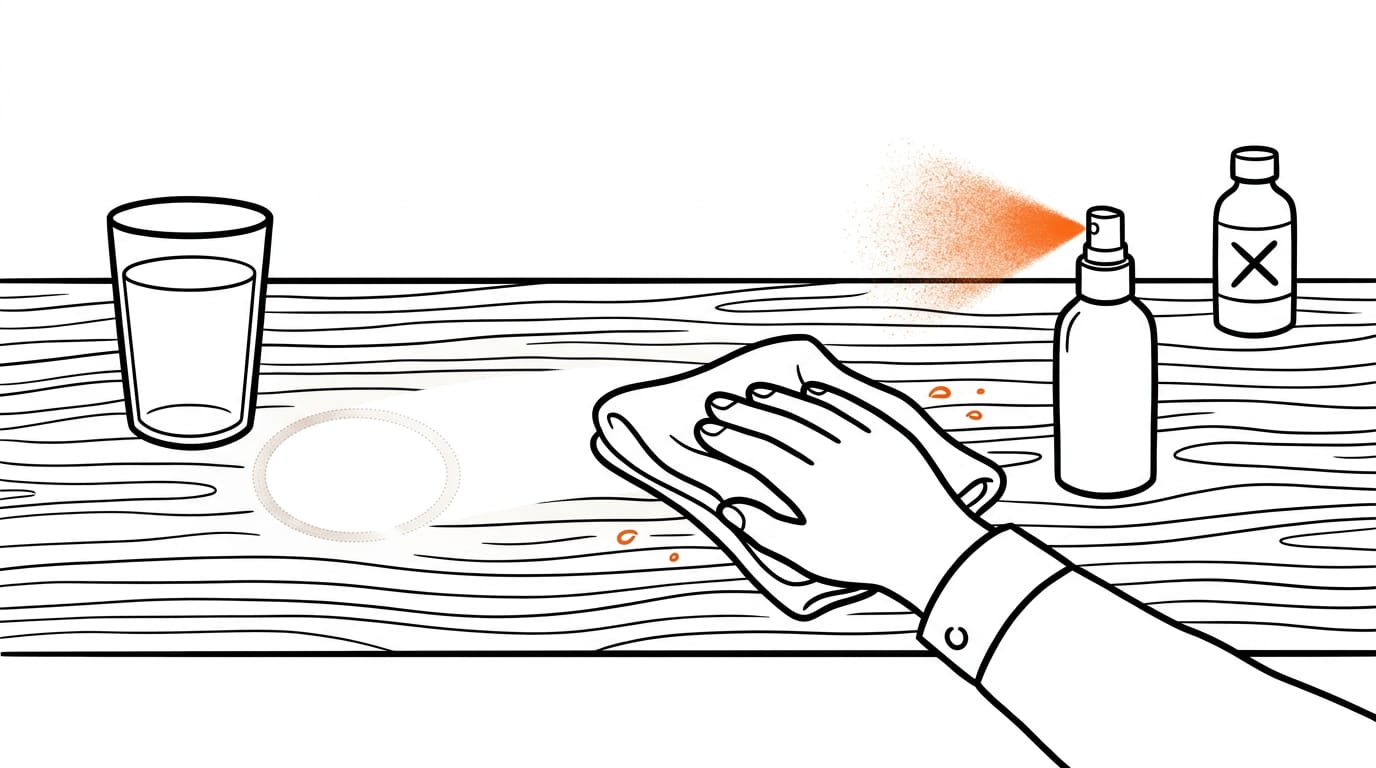
Avoid harsh supermarket cleaners. Strong all-purpose sprays can dull or lift the finish on wood, so a mild spray used regularly beats a harsh one used once. Gentle wins every time.
If a light mark won’t budge, step up to a stronger wood wash. Test it on a hidden patch first, then work with the grain.
Tackle dark stains with tannin remover
Dark, inky marks need more. A tannin spot remover is made for exactly that job, so start there rather than with your everyday spray. Work through it in order:
- Skip sanding at first. Apply the remover to the mark, follow the label for timing, then wipe clean.
- Repeat after drying. Let the wood dry fully and check the spot. If the mark is still visible, treat it again. Two gentle rounds beat one heavy-handed attempt.
- Light sanding if damaged. If the finish looks rough or cloudy, sand just the spot with fine grit paper, working along the grain. Stop as soon as the surface feels even.
Black marks are tougher still. Oxalic acid is the one to look for, but wear gloves and work in a well-ventilated room.
Sanding and Refinishing the Surface
Once the stain has lifted, the wood can look dull or patchy. This step evens out the surface, then seals it so the repair blends in.
Sand the whole surface to avoid mismatch
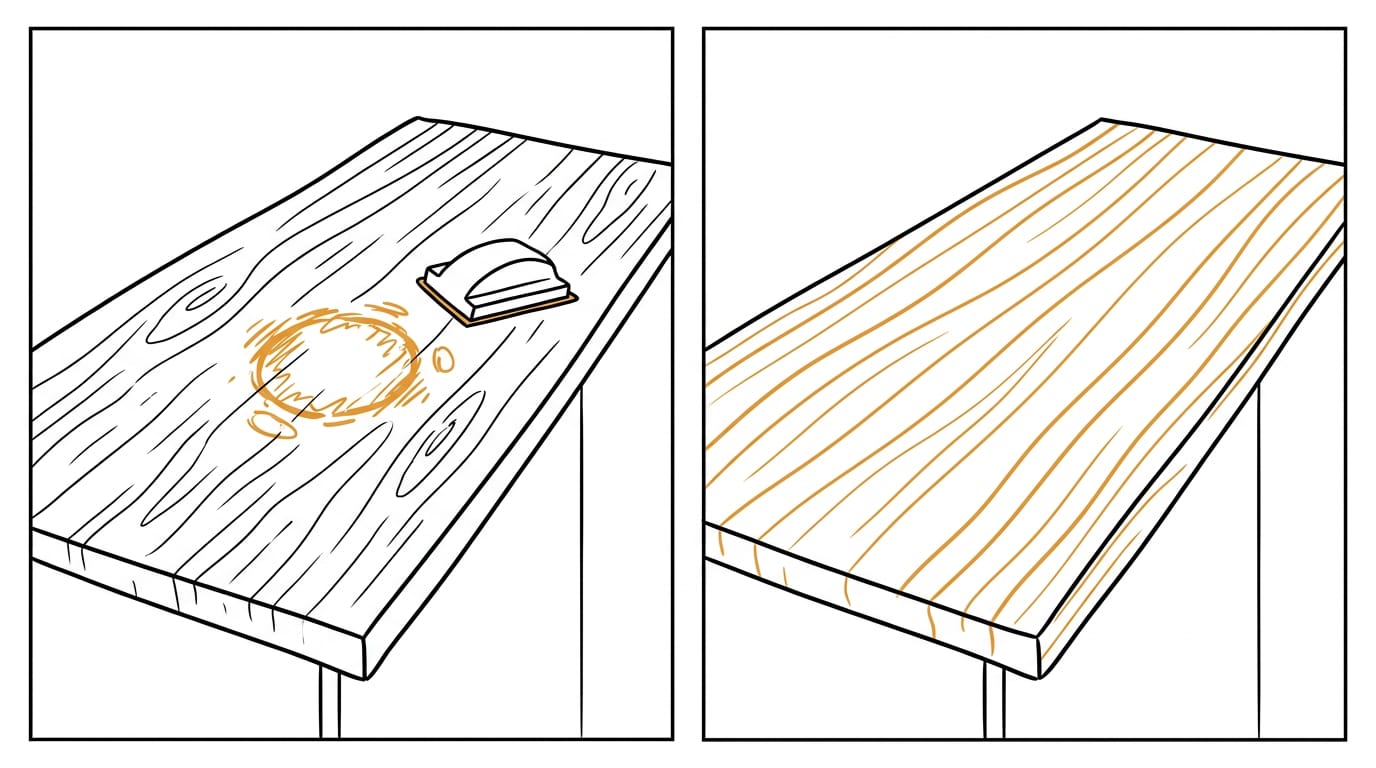
Sanding only the spot where the mark was is a common mistake. Spot sanding strips the finish from one small area, so that patch catches the light differently and shows as a pale ring. Blend it, don’t patch it.
Sand the whole surface instead, so the sheen and colour stay consistent.
Think of a home cleaner who lifts a water ring from a kitchen worktop and sands only that circle. The homeowner then sees a cloudy patch in the middle of the worktop.
Sanding the full run takes a little longer, but it avoids a redo and leaves an even finish.
Hand sand with 120-grit paper using light, even strokes. Always sand with the grain, never across it, so the scratches don’t show once the finish goes on.
Reseal and protect with the right oil
Wipe the sanded area with white spirit to lift dust and residue, then let it dry fully before you apply any oil.
Pick your finish based on the job:
- Danish oil: goes on in thin coats, each one building protection, so a few light layers beat one heavy wipe.
- Wood oil finishes: soak into the grain to nourish and protect it.
- Interior and exterior: match the finish to the location. Indoor furniture suits an interior finish, while an exterior finish is made for outdoor weather.
- Food-safe oil: on a kitchen worktop, use one labelled food-safe, since food and chopping boards will sit on it.
Stop Future Stains Before They Start
A few small habits keep water off wood, and a quick test protects the surface when a stain appears. Prevention beats repair every time.
Everyday habits that prevent future stains
Make these habits automatic:
- Coasters and mats. Put one under every glass, mug, and vase.
- Prompt wiping. Wipe spills as they happen, before water soaks in.
- Water-repellent finish. Keep that protective coating intact, since a worn finish lets water in.
- Dry sink edges and kettle spots. Dry the sink edge after washing up and wipe kettle spots away quickly.
Consider a home cleaner who services a busy family kitchen. Before she leaves, she sets coasters by the kettle and dries the sink edge. The family never sees a ring, and there’s nothing to repair on the next visit.
Test a hidden spot, then get help
Before committing to any fix, test an inconspicuous area, such as the underside of a table or the inside of a cupboard door, and check the result once it’s dry.
Test first. Fix second.
If the test goes wrong or the stain runs deep, call a professional woodworker who can judge the damage. For questions about a specific finish, contact its technical team, who can tell you what that surface can take.
Most water stains come down to matching the fix to the mark. Start with the gentlest method that suits what you’re seeing, and only move to sanding and refinishing when the simpler options have run their course.
Work patiently, test on a hidden spot first, and keep an eye on the finish as you go. A little prevention, like coasters and quick wipe-ups, keeps the next ring from forming in the first place.
Catch the mark early, and your wood will keep looking like the piece you fell in love with.
Questions
How to remove white circle from wood table?
For a white circle, start with the least invasive method: place a clean towel over it and press a dry, medium-heat iron onto the towel in brief intervals, checking between passes. Keep the iron moving and avoid steam, since too much heat can burn the wood or damage its finish.
How to remove dark stains from wood?
Dark stains often come from water reacting with tannins in the wood, so try a tannin spot remover and follow its label. Let the wood dry fully before repeating; if the mark remains and the finish is damaged, light sanding may help. Wear gloves and ventilate the room if using oxalic acid.
Why does mayonnaise remove water stains?
Mayonnaise contains oil and moisture, which may help draw out or reduce moisture trapped in a wood finish. Results are mixed, so treat it as an optional remedy rather than a guaranteed fix.
What's the best wood cleaner?
The best choice is a mild cleaner labelled for wood finishes and free of harsh ingredients. Use it with a soft cloth, wiping along the grain, and test it on a hidden spot first.
Does toothpaste remove water stains?
Toothpaste is often suggested, but it may do little to improve a water stain and can strip the wood’s finish. If you try it, rub briefly and wipe the area with a damp cloth.
Does baking soda remove water stains?
A baking soda paste may help, especially on a fresh stain. Mix baking soda with a little water, rub gently along the grain without pressing hard, and stop once the mark fades.
More in Kitchen
- How to Clean Quartz Countertops, From Daily Wipes to StainsHow to clean quartz countertops: wipe away daily messes, tackle water spots and stubborn stains, and learn which everyday products can damage the finish.
- How to Unclog a Sink: Simple Fixes That WorkHow to unclog a sink: start with simple natural fixes, then use tools or take apart pipes if needed. Avoid chemical cleaners that can backfire.
- Baking Soda for Coffee Stains: What Works and What Doesn'tBaking soda for coffee stains can help, but the right order matters. See how to treat fresh spills on clothes, sofas, carpet, wood, and mugs safely.
Stain Finder: a free stain removal guide
Find your stain