Cleaning Grout with Baking Soda and Hydrogen Peroxide Guide
Cleaning grout with baking soda and hydrogen peroxide lifts grime with a simple paste; see when it works, what to avoid, and which method fits your grout.

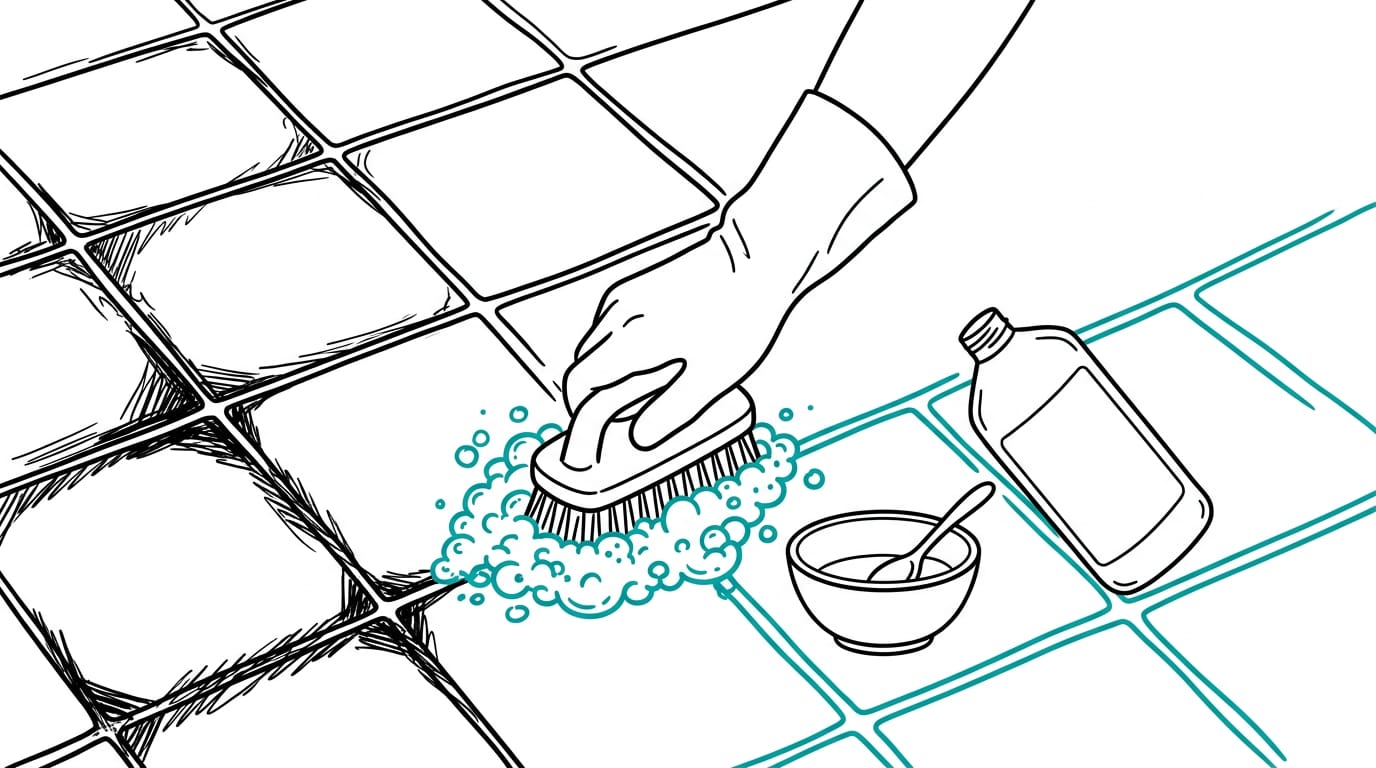
Cleaning grout with baking soda and hydrogen peroxide means applying a fresh paste to stained grout lines to loosen grime and brighten yellowed or darkened areas. Mix two parts baking soda with one part 3% hydrogen peroxide, let it sit for 10 to 20 minutes, then scrub gently and rinse well; spot-test coloured grout, wear gloves, and never add bleach. It works best on stubborn stains, while grease, mold, natural stone, and persistent discoloration may need a different approach or professional help.
Think of grout lines like the seams on a well-worn pair of trainers: they look fine until grime builds up in every gap.
A simple paste of baking soda and hydrogen peroxide can often lift that dirt without any fancy products, and both are likely already in your home.
This guide covers exactly how to mix and apply the paste, when the method works (and when it doesn’t), and how it compares with other options.
You’ll also find what to avoid, a guide to matching each grout problem with the right method, and tips for keeping lines cleaner for longer.
Cleaning Grout with Baking Soda and Hydrogen Peroxide
If your grout has yellowed or darkened, two cupboard staples and a brush can bring it back. Here’s exactly how to mix, apply, and rinse it.
Mixing the right paste ratio
Combine baking soda with hydrogen peroxide (the standard 3% strength) at two parts soda to one part peroxide. Four spoonfuls of soda to two of peroxide is enough for a small section of wall.
Expect fizzing as you stir, and aim for a foamy, runny paste. Mix fresh each time, and don’t store leftovers.
Before you start, check you have:
- Baking soda
- 3% hydrogen peroxide
- A small bowl and spoon
- An old toothbrush or stiff grout brush
Apply, wait, and scrub the grout
Here’s the sequence:
- Spread the paste over the grout lines, covering each stained section.
- Let it sit for 10 to 20 minutes.
- Scrub the lines with your brush, working along the grout.
- Rinse with warm water, then dry the area.
It’s patience rather than pressure that gets results. Think of a parent getting the shower ready before a weekend visit. They spread the paste, let it sit while they tidy the shelves, then scrub and rinse. The grout looks fresh without a trip to the shop.
Where this method works best
This method shines on grout that has yellowed or darkened, since it brightens the lines back up. It’s also the one to reach for with deep stains that a quick wipe won’t shift. In a home test, it came out top-rated.
The catch is that it needs more elbow grease than a spray-and-wipe. Scrubbing is the price of admission.
Low-effort options and repeat rounds
For light marks, you can skip the full scrub. Once the paste has soaked in, wipe it off with a damp cloth. If a stain survives, repeat the whole process rather than scrubbing harder. Stubborn stains need another round, not more muscle.
Showers are a common spot for a second round. Consider a flatmate who wipes the shower grout after each soak and only goes again when a mark stays put. They save the hard scrubbing for the spots that need it.
Is baking soda and peroxide safe to mix?
Baking soda and peroxide are mixed on purpose in this method, so the pairing isn’t the worry. The risk comes from what else you add. Dawn dish soap is a common add-in.
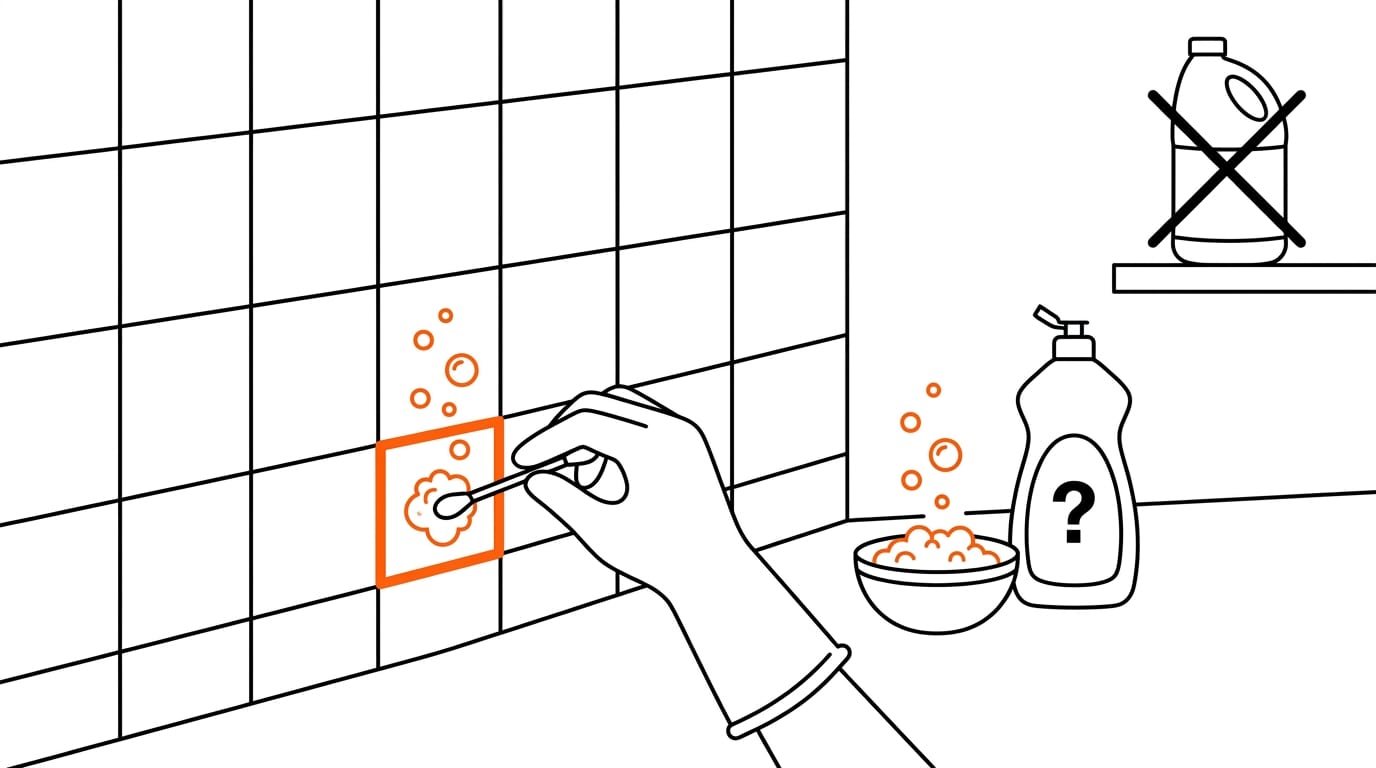
If you stir a squeeze in, the safeguards don’t change: spot test first, keep bleach out, and wear gloves. If you’re unsure about Dawn, stick with the plain paste.
- Spot test coloured grout. Try the paste on a hidden corner before you commit the whole wall.
- Never mix with bleach. Keep bleach and bleach-based cleaners well away from this paste.
- Wear gloves. Pop them on before you mix, not after you’ve started.
Other Ways to Clean Grout
Baking soda and hydrogen peroxide aren’t the only grout cleaners in your cupboard. Here’s how the other common methods compare, and when each one makes sense.
Gentle everyday soda paste options
For routine dirt, a baking soda paste is the simplest place to start. Mix it to a spreadable consistency, work it into the grout, and rinse. Follow it with a light spray of vinegar for an extra lift on everyday grime.
If you want the simplest option of all, use baking soda alone. It’s a one-ingredient choice that’s gentle rather than harsh, so it’s easy to repeat week after week.
Why a vinegar and water mix disappoints
Many people reach for a bottle of vinegar and water first. Equal parts of each sounds like an easy fix, but in testing the results were disappointing. An easy mix isn’t always an effective one.
There’s a bigger concern, too. According to House Digest, vinegar-and-water solutions shouldn’t be used to clean natural stone such as marble, granite, and limestone.
If your tiles are natural stone, skip the vinegar mix altogether and choose one of the soda options above.
Dish soap for greasy kitchen buildup
Kitchen grout tends to collect cooking grease. For that sticky film, hot water and dish soap is a practical choice, since dish soap is made to tackle grease.
Mix the two, apply the solution to the grout, and let it sit for five minutes before you wipe and rinse.
Think of a parent who cooks most evenings and notices the grout behind the hob turning dull and greasy. A five-minute soak with hot water and dish soap can freshen it up using what’s already under the sink.
Using oxygen bleach on old stains
For old, tough stains that have set in, try an oxygen bleach powder such as an OxiClean-type product. Dissolve it in warm water before you apply it to the grout. Save it for old stains rather than everyday dirt, since it’s meant for the tough ones.
Tackling mold with bleach gel
Mold on grout calls for a different approach. Apply a thin line of bleach gel along the grout, and keep the room well ventilated while you work. Ventilation isn’t optional.
Be realistic about its reach, too. Bleach gel doesn’t penetrate deeply, so it may not reach mold lodged further into the grout.
Steam or store-bought grout cleaners
Steam cleaning lifts soil using heat rather than chemicals, which suits anyone who’d rather skip harsh products. Steam isn’t a good fit for loose grout, though, so check its condition before you start.
If you’d rather buy a ready-made product, a Zep grout cleaner is one option worth a look.
Tools and My Hands-on Tests
Before you mix anything, get your kit in order. Here’s what’s worth having, why a toothbrush only goes so far, and how our side-by-side test worked.
Brushes and supplies worth having
Most grout jobs need only a few basics:
- Stiff grout brush: the everyday tool for working paste into narrow lines.
- Drill brush for floors: an attachment that makes large tiled floors far less of a chore.
- Old toothbrush for corners: for the tight spots a bigger brush can’t reach.
- Microfiber cloths and spray bottles: one bottle for your solution, cloths for wiping up.
Consider a tenant scrubbing the bathroom floor before a move-out inspection. A stiff brush and a spray bottle turn a weekend of kneeling into an afternoon’s work.
Why toothbrushes only go so far
A toothbrush is precise but not powerful. It fits behind the taps and along the skirting, yet a whole wall of grout can leave your wrist aching and the job still half done. Save it for the last few centimetres.
- Precise but slow: great for edges, impractical for an entire floor.
- Proper scrub brush: for bigger areas, this is the tool that does the heavy lifting.
- OXO and Full Circle brushes: two examples of the type we’d point you toward.
Comparing methods in the taped-off test
We taped off three sections of grout and cleaned each one with a different method. Every section got a rating from 1 to 5 for how clean it came out, and time and effort were weighed alongside that score.
A top rating that eats your whole afternoon is only half the story. Speed matters too.

Match the Method to Your Problem
Not every grout problem needs the same fix, so let the mark guide you.
Matching each problem to a fix
Pair each mark with its first move:
| Problem | First move |
|---|---|
| Everyday dirt | Baking soda paste, scrubbed in |
| Stains | Hydrogen peroxide on the spot |
| Mould | Hydrogen peroxide, then scrub |
| Grease | Baking soda paste, then wipe clean |
Match the cleaner to the buildup: a gentle paste for surface grime, a peroxide treatment for soaked-in marks. Always identify the stain first, since a dull film and a dark spot need different fixes.
Think of a parent who spots dark marks in the shower at bedtime. A quick paste and an old toothbrush have the grout ready by morning.
To clean ceramic tile floors, work in three steps:
- Sweep or vacuum loose dirt.
- Mop with a baking soda solution.
- Rinse and let the floor dry.
Tips by location, from showers to kitchens
Where the grout sits changes the approach:
- White grout shows every mark, so check the result in daylight.
- Shower grout stays damp, so dry it well, since damp encourages mould.
- Kitchen grout collects splatter, so start with a baking soda paste.
- Natural cleaning options start in your cupboard: baking soda and hydrogen peroxide, used gently.
How to clean grout that turned black?
To clean grout that has turned black, scrub a baking soda paste into the lines, then lift what’s left with hydrogen peroxide. Dirty grout lightens as the grime lifts, so you’re aiming for clean grout rather than new grout. Patience pays here.
Persistent stains are the ones still dark after cleaning. For those, recolouring may be needed.
Renters should check before recolouring. Repainting grout without asking can mean an awkward check-out, so message the landlord first.
What to Avoid for Safe Cleaning
Baking soda and hydrogen peroxide are gentle, but a few common habits can undo your careful work. Here’s what we’d keep off your grout and which mistakes to sidestep.
Why bleach and harsh chemicals hurt grout
Reaching for the strongest bottle under the sink feels like the fastest fix, but gentle products usually protect grout better. Bleach weakens grout and can leave behind a film that attracts dirt. Avoid ammonia and toilet bowl cleaner, too.
According to a guide from Express.co.uk, cleaners containing bleach or ammonia can even fade colored grout, leaving an uneven look. Gentle wins.
Dangerous mixes and vinegar on marble
Vinegar is a handy cupboard cleaner, but skip it on marble, even when it’s the only thing within reach. Never mix bleach with vinegar, and never mix bleach with hydrogen peroxide. Stick to one product at a time, and rinse thoroughly in between.
Common mistakes that damage grout
Most grout damage comes from everyday habits. Picture a tenant who scrubs shower grout with a wire brush because it’s the only one in the cupboard. A soft brush and a good rinse would have protected it.
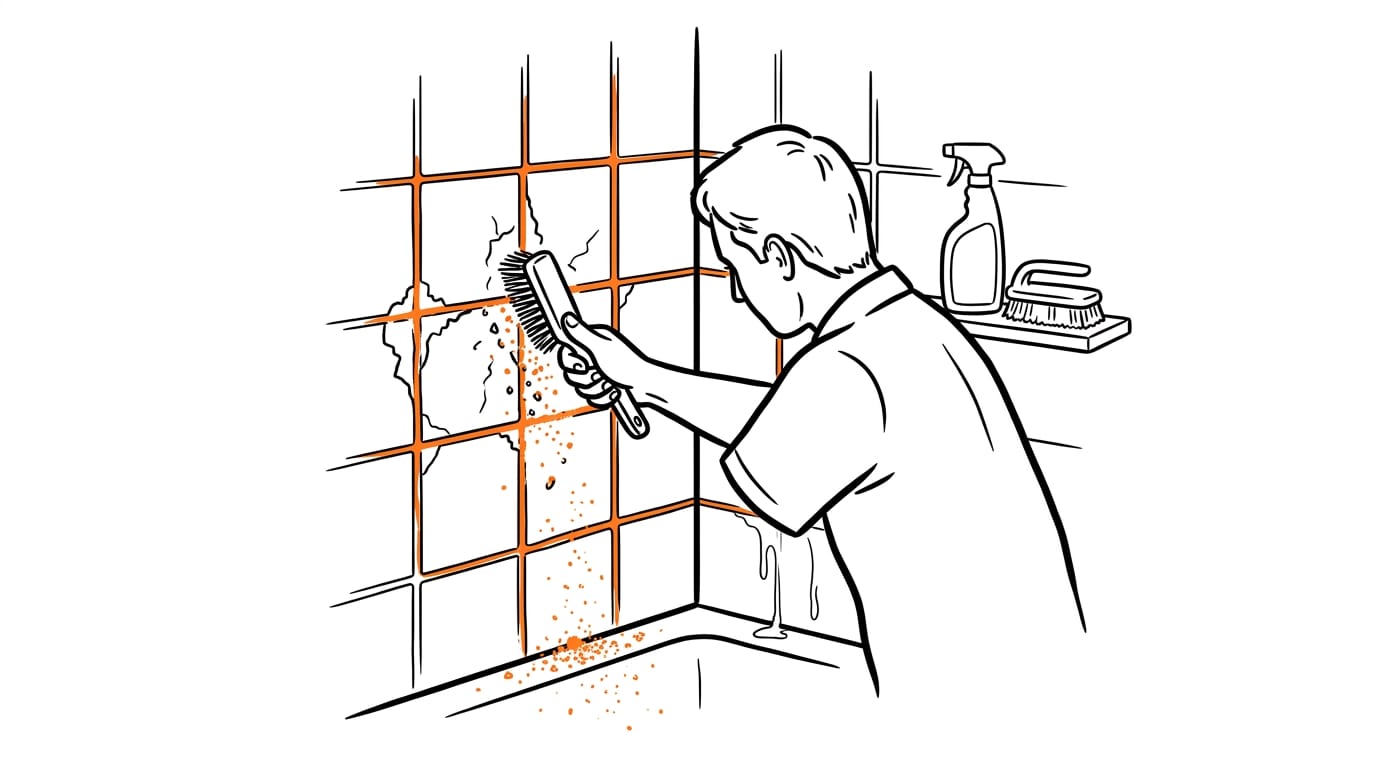
- Metal brushes. Metal bristles are too harsh, so reach for a soft brush instead.
- Scrubbing too soon. Let the paste sit before you scrub, so the cleaner does the heavy lifting.
- Forgetting to rinse. Leftover residue can attract dirt, so rinse well when you’re done.
- Skipping sealer. Sealer helps protect grout, so check yours is still doing its job.
- Ignoring moisture problems. If grout stays damp, find the source first, since cleaning alone won’t fix it.
Keeping Grout Clean and Sealed Longer
Clean grout lasts when simple routines keep dirt out and the seal intact. Here’s how often to clean, which daily habits help, and when to reseal.
How often each area needs cleaning
How often grout needs attention depends on where it is, and busier spots need more frequent care:
- Floors: clean monthly to lift dirt before it builds up.
- Kitchen backsplash: wipe weekly to remove grease and splatters.
- Spills: spot clean immediately, before they dry into the grout.
Small daily habits that protect grout
Small daily habits do much of the work. Think of them as prevention rather than repair:
- Dry surfaces after use: wipe tiles down so water doesn’t sit in the lines.
- Squeegee or shower spray: squeegee shower walls after use, or give them a shower spray.
- Liquid soap, not bar soap: it helps less soap film build up along the lines.
- Entry mats, sweep first: sweep the mat before grit gets tracked onto the tile.
- Fix leaks: a constant drip keeps grout damp, so repair leaks promptly.
Resealing grout every six to 12 months
A sealer helps grout repel stains and moisture. Reseal every six to 12 months, always after cleaning and fully drying the grout. You can choose between penetrating sealers, which soak into the grout, and spray sealers, which you apply straight from a can.
Choosing gentle pH-balanced cleaners
Acidic cleaning products can wear down grout. Cleaners have a pH, a scale that measures how acidic or alkaline a product is.
According to a study titled Ceramic Tile Surfaces in Acid Environment, continual use of cleaners with a basic or acidic pH can corrode ceramic tile and lower its mechanical performance.
A pH-balanced formula sits closer to neutral, so it’s gentler on the surface. Consider a renter who scrubs the bathroom floor every Saturday with a strong cleaner.
Switching to a mild, pH-balanced formula keeps the grout looking fresh without the extra wear. It’s less about how strong a cleaner is and more about how gentle it is. Gentle wins.
When to Bring in Professional Help
Your baking soda and peroxide routine handles most grout, but some jobs need a pro. Here’s how to tell which is which.
DIY for upkeep, commercial for neglect
Consider a flatmate who scrubs the shower grout with baking soda paste every week. That’s routine maintenance.
According to a Portuguese study on building maintenance, cleaning by building users is a preventive measure, while technical cleaning by specialists is more proactive.
When grout has been ignored for years, though, the job changes. Commercial cleaning can help with neglected grout that routine scrubbing can’t shift.
Doing it yourself, meanwhile, is cheaper than buying one product after another for the same dark lines. Stick to the routine.
Signs it’s time to call a pro
Watch for these warning signs:
- Grout stays dark. If it’s still grey after a proper baking soda and peroxide scrub, a pro can take a look.
- Mold returns quickly. If it’s back within days, stop scrubbing and call a pro.
- Cracked or missing grout. Gaps need repair before cleaning will look right, so have them checked first.
- Natural stone. Stone needs different care than ceramic, so check with a pro before using your baking soda and peroxide on it.
What a professional cleaning involves
A professional clean goes further than your weekly scrub. It involves three main steps:
- Steam extraction. Technicians use steam equipment to clean the grout, reaching more than a hand scrub can.
- Matched cleaners. The pro picks products matched to your tile and grout, not one bottle for every surface.
- Recoloring and resealing. Once clean, grout can be recolored and resealed, so your upkeep starts from a fresh base.
Clean grout doesn’t have to mean an expensive bottle or an afternoon of hard scrubbing. A baking soda and hydrogen peroxide paste, matched to the right method for each problem, can bring tired lines back to life.
Test a small hidden patch first, and you’ll know it’s safe to go ahead.
Keep up with spills and small marks, and deep cleaning becomes far less of a chore. Grab a bowl and a brush, and let those lines look fresh again.
References
- Ceramic Tile Surfaces in Acid Environment: Study on the Topographic, Microstructural and Mechanical Changes — hdl.handle.net (2017)
- Metodologia de manutenção de edifícios : revestimento de pavimentos interiores cerâmicos — doi.org (2009)
- The Stone Floors You Can’t Clean With Vinegar And Why — housedigest.com
- How to clean grout: ‘Guaranteed’ method to effectively clean grout without causing damage — express.co.uk
Questions
How to clean grout without damaging it?
Use a gentle cleaner, such as baking soda paste, and a soft grout brush. Let the cleaner sit before scrubbing, avoid metal brushes and harsh products such as bleach or ammonia, then rinse thoroughly and dry the area. Spot-test coloured grout first.
How to clean ceramic tile floors?
Sweep or vacuum loose dirt, then mop the ceramic tile floor with a baking soda solution. Rinse the floor and let it dry. Use gentle, pH-balanced cleaners for routine care.
How to clean grout that has turned black?
Scrub baking soda paste into the grout, then apply hydrogen peroxide and rinse. Let the cleaner work rather than scrubbing harder; repeat the treatment for stubborn stains. If the grout remains dark after a proper clean, consider professional help or recolouring.
How often should I clean tile grout?
Frequency depends on the location: clean tile floors monthly, wipe kitchen backsplash grout weekly, and spot-clean spills as soon as they happen. Drying damp areas after use also helps prevent grime and mould from building up.
Can I make homemade grout cleaner with hydrogen peroxide?
Yes. Mix two parts baking soda with one part standard 3% hydrogen peroxide to make a foamy paste. Apply it to the grout, leave it for 10 to 20 minutes, scrub gently, then rinse and dry; make a fresh batch each time.
Is it safe to mix Dawn baking soda and hydrogen peroxide?
Baking soda and hydrogen peroxide can be used together, but adding Dawn is not necessary and calls for extra care. Spot-test first, wear gloves, and never add bleach or mix the solution with bleach-based cleaners.
Can you use vinegar on grout?
Vinegar may be used sparingly on some grout for everyday grime, but vinegar-and-water solutions can be ineffective, and vinegar should never be used on natural stone such as marble, granite, or limestone. Never mix vinegar with bleach, and rinse surfaces thoroughly.
Sources
- The Stone Floors You Can't Clean With Vinegar And Why, housedigest.com
- How to clean grout: ‘Guaranteed’ method to effectively clean grout without causing damage | Express.co.uk, express.co.uk
- Ceramic Tile Surfaces in Acid Environment: Study on the Topographic, Microstructural and Mechanical Changes, hdl.handle.net,
- Metodologia de manutenção de edifícios : revestimento de pavimentos interiores cerâmicos, doi.org,
More in Floors & Carpets
- How to Get Hair Dye Off Wood Floor FastHow to get hair dye off a wood floor fast: choose a cleaner based on the finish, lift fresh drips safely, and avoid damage to nearby surfaces.
- Wood Heater Cleaning: Ash, Glass, Flue and Safety BasicsWood heater cleaning gets easier with better burning habits, safe ash removal, glass cleaning, plus simple checks for creosote and worn stove parts.

- Is it worth buying a carpet cleaner, or hiring one?What hiring a carpet washer, buying one or paying a professional costs in pounds, which carpets to keep machines off, and how to avoid over-wetting.

Stain Finder: a free stain removal guide
Find your stain