How to Clean Hardwood Floors Without Damaging the Finish
How to clean hardwood floors: choose the right tools, tackle heavy grime, and avoid moisture mistakes that can damage the wood and fix spills fast.

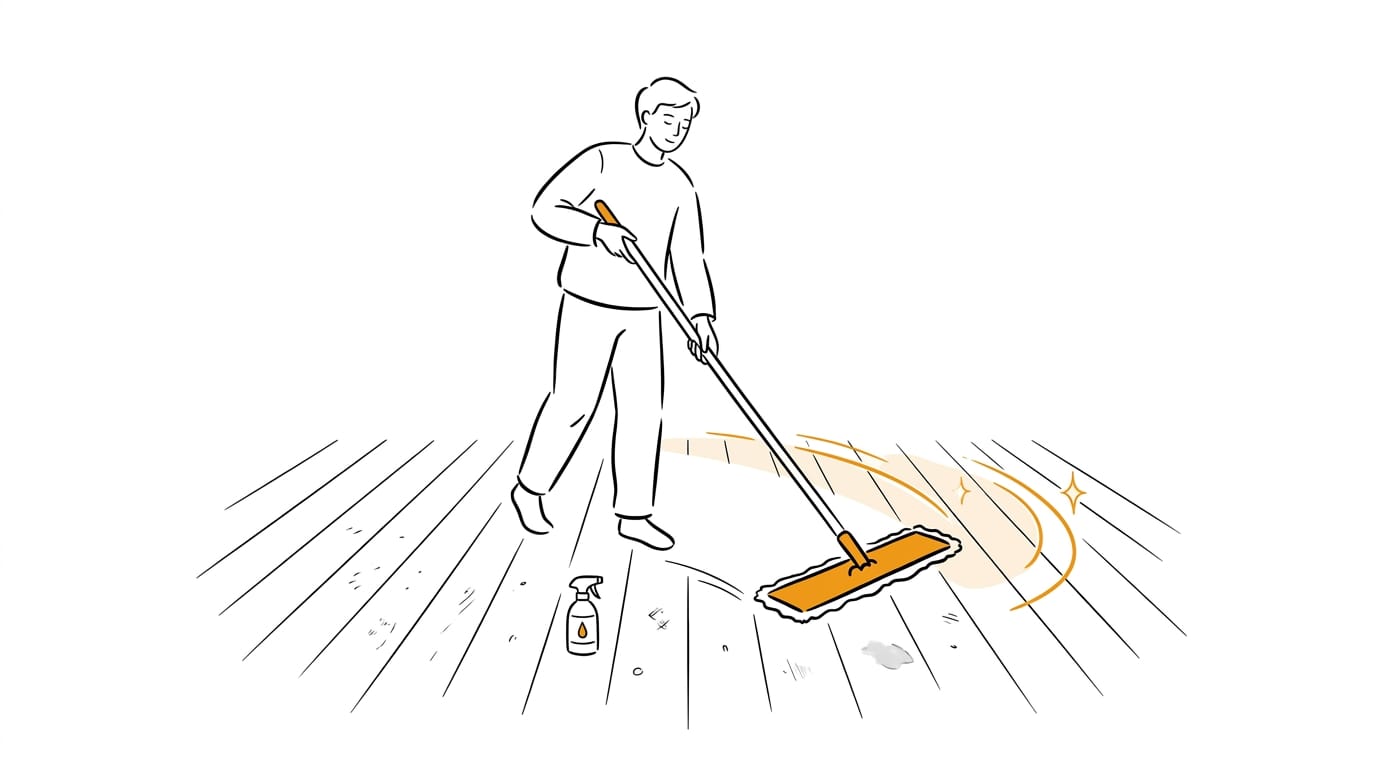
Cleaning hardwood floors means removing dust and grime while protecting the wood’s finish from scratches, residue, and excess moisture. Sweep or dry-mop first, then use a barely damp, thoroughly wrung-out mop and a cleaner labeled safe for your floor’s finish; avoid steam, harsh chemicals, waxes, and soaking the boards. Wipe spills promptly and clean in small sections, drying as you go, to keep floors looking good without risking avoidable damage.
Your hardwood floor takes a daily beating: muddy boots, a dropped mug of tea, the dog’s paws after a wet walk.
Like a favourite wooden chopping board, it looks best when it’s cleaned gently, and it suffers when it’s soaked or scrubbed with the wrong product.
The good news is you don’t need a cupboard full of specialist sprays. Simple care works once you know which tools to use and how much moisture is too much. If too much moisture has already left a mark, here’s how to remove water stains from wood.
This guide covers prep, the right tools, heavily soiled floors, costly mistakes to avoid, and quick fixes for spills and scuffs using what’s already at home.
Why and How to Clean Hardwood Floors
Hardwood looks beautiful, but it needs a little routine care to stay that way. Here’s why regular cleaning matters and what daily foot traffic is quietly doing to your floors.
What regular cleaning does for your floors
Regular cleaning is less about making the floor look good for one afternoon and more about protecting it for years. It helps in four ways:
- Preserves appearance and integrity. A quick sweep keeps the finish even and the boards in good shape.
- Extends floor lifespan. Looking after the surface now helps it last longer.
- Prevents scuffs and wear. Clearing grit before it’s walked across stops marks from building up.
- Brightens the whole home. Clean floors make every room feel fresher.
Think of a parent with two kids and a dog who sweeps the hallway each evening. The floor stays bright, and the scuffs never get the chance to settle in.
Dirt that daily foot traffic tracks in
Every step across the room brings more tracked-in dirt from the street, the garden, or the school run, and each footfall presses that grit into the finish. Grit doesn’t take a day off.
That’s why hardwood needs special attention to keep it looking its best. Catching the dirt early, before it’s ground in, is the simplest way to protect the finish.
Picking the Right Cleaners and Tools
Your cleaner matters almost as much as your mop, so it’s worth choosing with care. Here’s how to pick a product for your floor, plus a few places to start.
Choosing wood-specific or multisurface cleaners
You don’t need a bottle labelled specifically for hardwood to get good results. A multisurface cleaner is a general-purpose product made for many surfaces, and it can do the job.
In its lab-tested reviews, Consumer Reports found that a few multisurface floor cleaners were just as impressive on wood as products made specifically for hardwood.
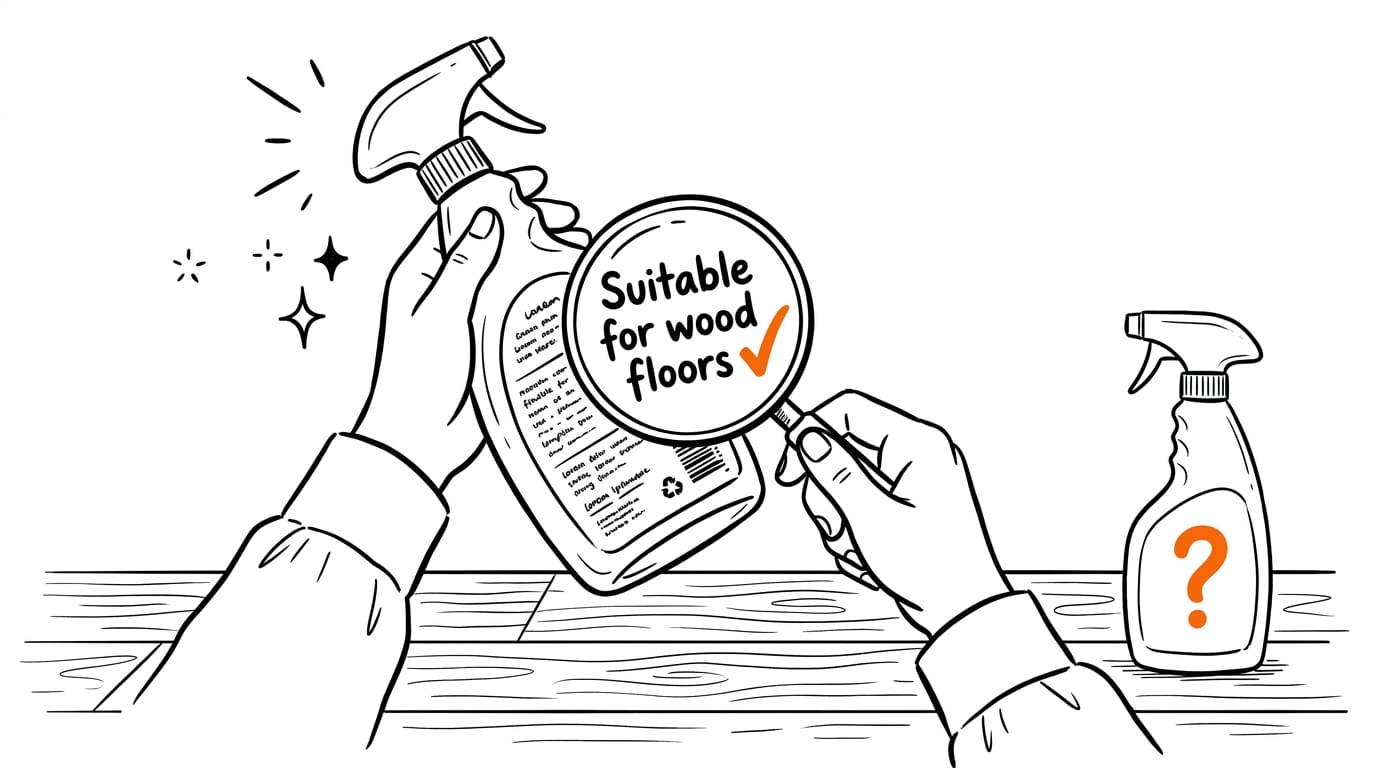
Your focus should be on the label rather than the front of the bottle. Check the label for wording that says the product is suitable for wood floors. If the bottle doesn’t mention wood at all, don’t assume it’s safe to use. Read it before you pour.
For a shortlist to start from, the brands below are a good place to begin.
Brands that work well on wood
Here are the three to compare:
- Mr. Clean multi-surface liquid. A general-purpose option that fits the multisurface approach covered above.
- Swiffer WetJet solution and pads. A solution and pad pairing that’s easy to restock when the bottle runs low.
- Swiffer PowerMop kit. A mop and cleaner set, handy if you want everything ready to go in one kit.
Think of a parent who has just wiped up a juice spill in the hallway. With a bottle of multi-surface liquid already under the sink, the mess is handled in minutes, not after a trip to the shop. Hair dye stains are a different job from a juice spill, and they need their own method.
It’s less about loyalty to a brand and more about what’s already in your cupboard.
Prepping the Room for Light Cleaning
Good floors start before you reach for the mop. A few minutes of tidying and dry sweeping makes the wet clean faster and leaves a better finish.
Clear away toys, clutter, and rugs
Think of a parent with a toddler who scoops up scattered building bricks, a stray sock, and a pile of school bags before cleaning begins. Nothing gets shoved under the sofa or left to block the mop.
The aim is to clear the room before you start, not to work around things as you go.
- Remove toys and clutter. Pick up everything on the floor so the mop can reach every board.
- Roll up rugs. Lift loose rugs and move them to a dry spot so you can clean the floor edge to edge.
Sweep up dust and debris first
Skip this step and you’ll only spread grit across the boards with your mop, which is the last thing a hardwood finish needs. Sweep first.
Two tools handle the job well:
- Soft-bristle broom. Its gentle bristles lift fine dust and crumbs without scratching the surface.
- Microfiber dust mop. Use it dry to pick up the fine dust the broom leaves behind.
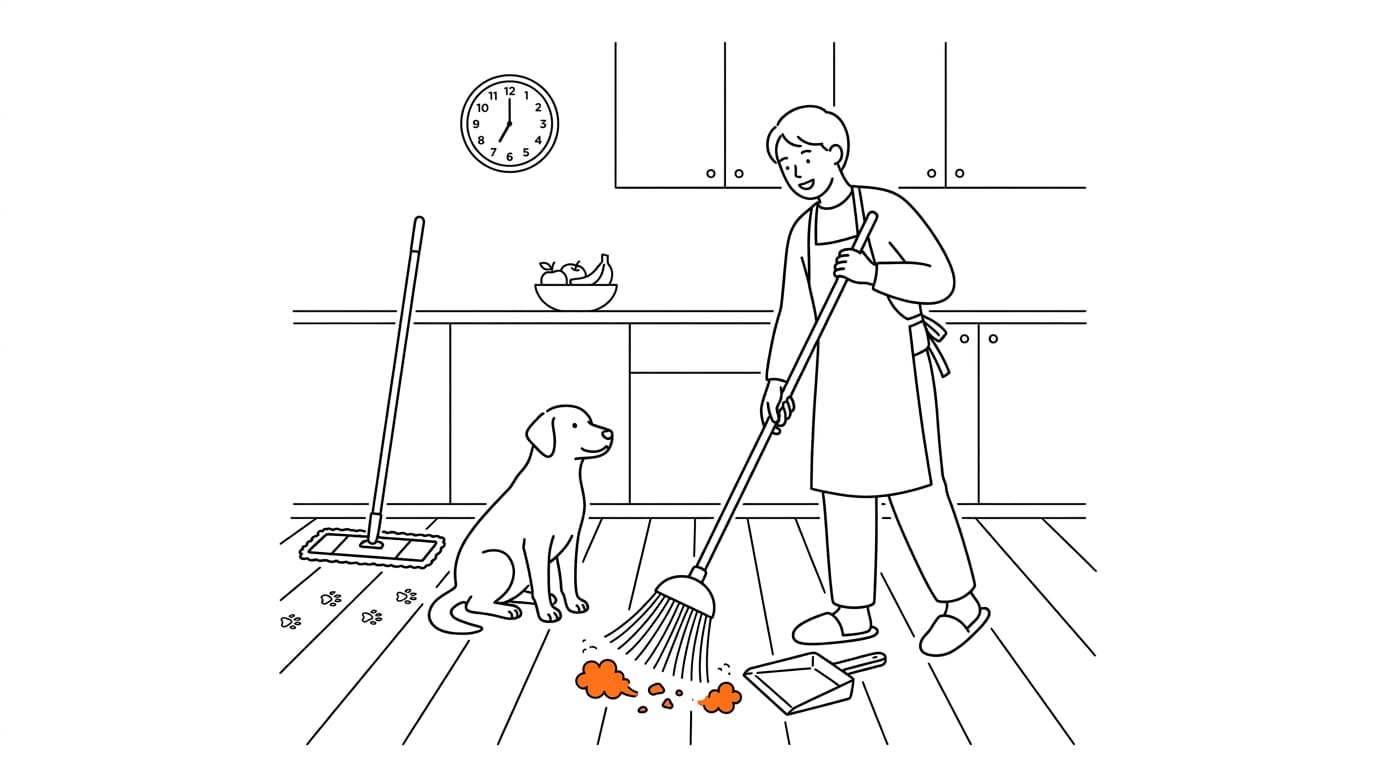
Consider a pet owner who sweeps the kitchen every evening after the dog has tramped through, so the next mop starts on a clean surface. Set a cleaning frequency schedule that matches how busy each room is, so dust doesn’t pile up between cleans.
How Can I Clean Really Dirty Hardwood Floors?
Caked-on grime needs a bit more method than a quick sweep, but it doesn’t need harsh chemicals. Start with a pH-neutral cleaner (one that’s balanced, neither acidic nor alkaline), keep your mop damp, and work one section at a time.
Mixing a pH-neutral cleaning solution
Pick a dedicated hardwood formula or a multisurface one, as long as the label says pH-neutral, so it’s gentle on the finish. Then mix a gallon of water with a quarter cup of cleaner in your bucket and stir well.
Mopping damp and working in sections
Here’s how to get it right:
- Damp, not wet. Your mop should feel damp, never dripping.
- Wring the mop thoroughly. Squeeze until almost no water drips out before it touches the boards.
- Scrub stuck-on dirt. Give sticky patches a firmer pass. Spot-treat stubborn stains or scuffs first, so they don’t get smeared across the floor.
- Use a spray mop system if you have one. It lets you spritz the solution as you go.
- Work in sections, dry as you go. Clean one small area, dry it, then move on.
Picture a parent mopping a muddy hallway: they finish one strip, dry it, then step onto clean boards, so no grime gets tracked back across the floor. A damp mop beats a soggy one every time.
What you need before you start
- Mop and bucket: a mop you can wring out well, plus a bucket for mixing.
- Cleaning liquid: your pH-neutral cleaner, measured and ready.
- Water: a gallon, to mix with the cleaner.
Mistakes That Damage Hardwood Floors
Most hardwood damage builds up from everyday habits. Start by checking your floor’s finish, since that decides which cleaners are safe.
Harsh chemicals and waxes to skip
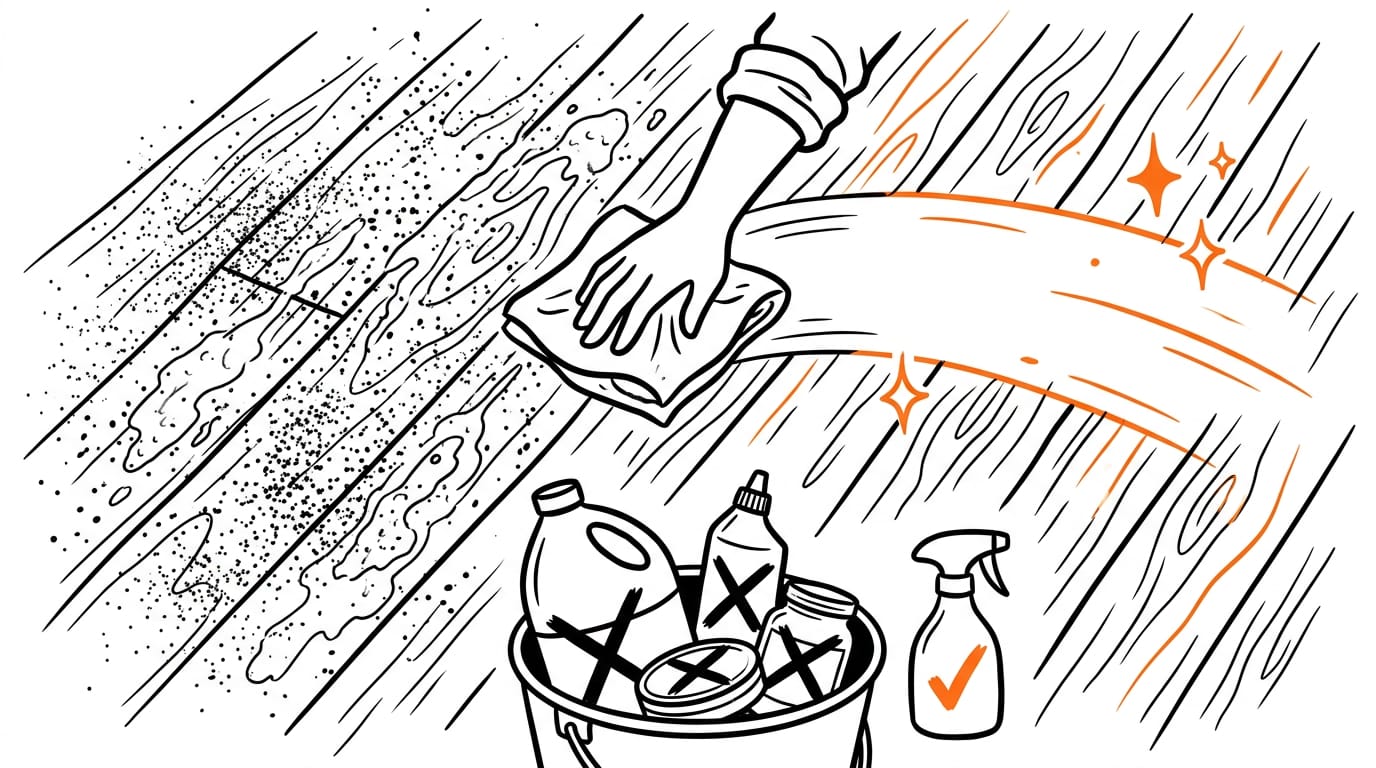
Some cleaners are simply too harsh for wood. Bleach and ammonia can strip the protective layer, so keep them out of your bucket. Wax-containing cleaners do the opposite: they leave a film that dulls the boards over time.
Vinegar and other acidic products can wear down the finish too, so check the label first.
The quiet problem is residue. A sticky film from a cleaner you didn’t rinse away can dull the shine and cause finish damage. It’s how much is left behind that matters most, so use less and wipe well. Gentle wins.
Why too much water can ruin wood
- Skip the steam cleaner. Steam pushes moisture into the boards, which is the last thing they need.
- Don’t over-wet floors. Aim for damp, never soaked.
- Watch the warranty. According to the Pre-finished Engineered Wood Flooring Product Warranty, using steam or excessive water on hardwood floors may void the floor’s warranty.
- Wring your mop well. It should feel barely damp when you lift it out.
- Wipe spills the moment they happen. A spill left to soak while you clean another room is much harder to stop.
Match cleaners to your floor’s finish
The floor decides the product, not the other way round.
- Not for unfinished floors. Bare wood has no protective coat, so check that a product suits unfinished boards first.
- Avoid oiled or waxed boards with standard cleaners, which can strip the oil or wax layer.
- Follow manufacturer care guidelines. The care sheet that came with your flooring is your best guide.
- Spot-test new cleaners. Try a small hidden patch, like inside a cupboard, and let it dry.
- Don’t leave excess cleaner. Use the amount the label recommends and wipe up any puddles.
Keep cleaners away from kids and eyes
Floor cleaners can irritate the eyes, so wear gloves and keep the label in view. If a splash reaches an eye, follow the first aid directions on the label.
Picture a parent mopping the hallway while a toddler crawls behind. Keep the bottle on a high shelf, out of children’s reach, before you start.
Up high, every time.
How We Put Cleaners to the Test
Not every cleaner that looks good on the bottle holds up on a real floor. Here’s the testing approach we follow, so you know exactly what a score means.
The messes and mop passes we used
- Mustard and tomato soup messes. Picture a parent who’s just wiped a toddler’s lunch off the kitchen floor. The real question is whether a cleaner lifts those marks off the boards, not just whether it smells nice.
- Black crayon scuff marks. Scuffs are a different test from spills. A crayon drawing on a hallway floor is a good stand-in, and it shows whether a cleaner handles scuffs as well as it handles spills.
- 100 mop passes. Consumer Reports’ lab method uses 100 passes with the mop before it evaluates how well each cleaner removes the mustard, tomato soup, and scuff marks. That’s a lot of mopping. It’s also the point, since the test is about repeated passes, not one quick wipe.
- Combined cleaning score. All of those results roll into one combined cleaning score, so you can compare cleaners side by side. One number, no guesswork.
Clean hardwood floors come down to a few steady habits: sweep or vacuum first, mop with a barely damp cloth, and choose gentle cleaners over harsh ones.
Prep the room, take your time with heavy grime, and steer clear of the mistakes that dull the finish over time.
When a spill or scuff hits, act fast with what’s already in your cupboard. Acting quickly gives you the best chance of a clean result.
A little care today keeps your wood looking its best for years to come.
References
- 3 Best Hardwood Floor Cleaners, Lab-Tested and Reviewed — consumerreports.org (2025)
- Pre-finished Engineered Wood Flooring Product Warranty — cdn.prod.website-files.com
Questions
What is the best floor washer?
There isn’t one best floor washer for every hardwood floor. Choose a cleaner or floor-washing system labeled safe for wood and compatible with your floor’s finish; use only a barely damp mop, since excess water can damage the boards.
How can I clean really dirty hardwood floors?
Sweep or vacuum first to remove grit, then use a pH-neutral cleaner labeled safe for your floor. Mix it as directed, wring the mop until it is barely damp, and clean small sections, drying each section before moving on. Spot-treat stubborn grime and scuffs, and avoid soaking the wood.
Is vinegar safe to use on hardwood floors?
Vinegar is not recommended for hardwood floors because it is acidic and can wear down the protective finish. Use a pH-neutral cleaner labeled safe for your floor instead, and follow the flooring manufacturer’s care instructions.
What should you not clean hardwood floors with?
Avoid bleach, ammonia, acidic cleaners such as vinegar, wax-containing cleaners, and steam cleaners on hardwood. Don’t use excessive water or leave cleaner residue behind, and check that any product is suitable for your floor’s finish.
Sources
- 3 Best Hardwood Floor Cleaners, Lab-Tested and Reviewed - Consumer Reports, consumerreports.org,
- Pre-finished Engineered Wood Flooring Product Warranty, cdn.prod.website-files.com
Read next
- How to Clean Ceramic Tile Floors Without Harsh ChemicalsHow to clean ceramic tile floors: start dry, then mop; use cupboard staples to tackle stains, scuffs, and grout with a stain-first method.
- End of tenancy cleaning checklist: room by roomA room-by-room checklist for cleaning a rented home back to its check-in inventory, with what a landlord can and cannot charge for and the photographs to take.

- Toilet Siphon Jet Cleaning: A Complete GuideToilet siphon jet cleaning restores a weak flush by clearing deposits with basic tools, plus steps for stubborn blockages and habits that keep jets clear.
Stain Finder: a free stain removal guide
Find your stain