- Rinse
- Dry
- Buff
Clean Silver with Baking Soda: A Complete Guide
Clean silver with baking soda safely by matching the method to your piece, spotting when baking soda is the wrong choice, and preventing tarnish.

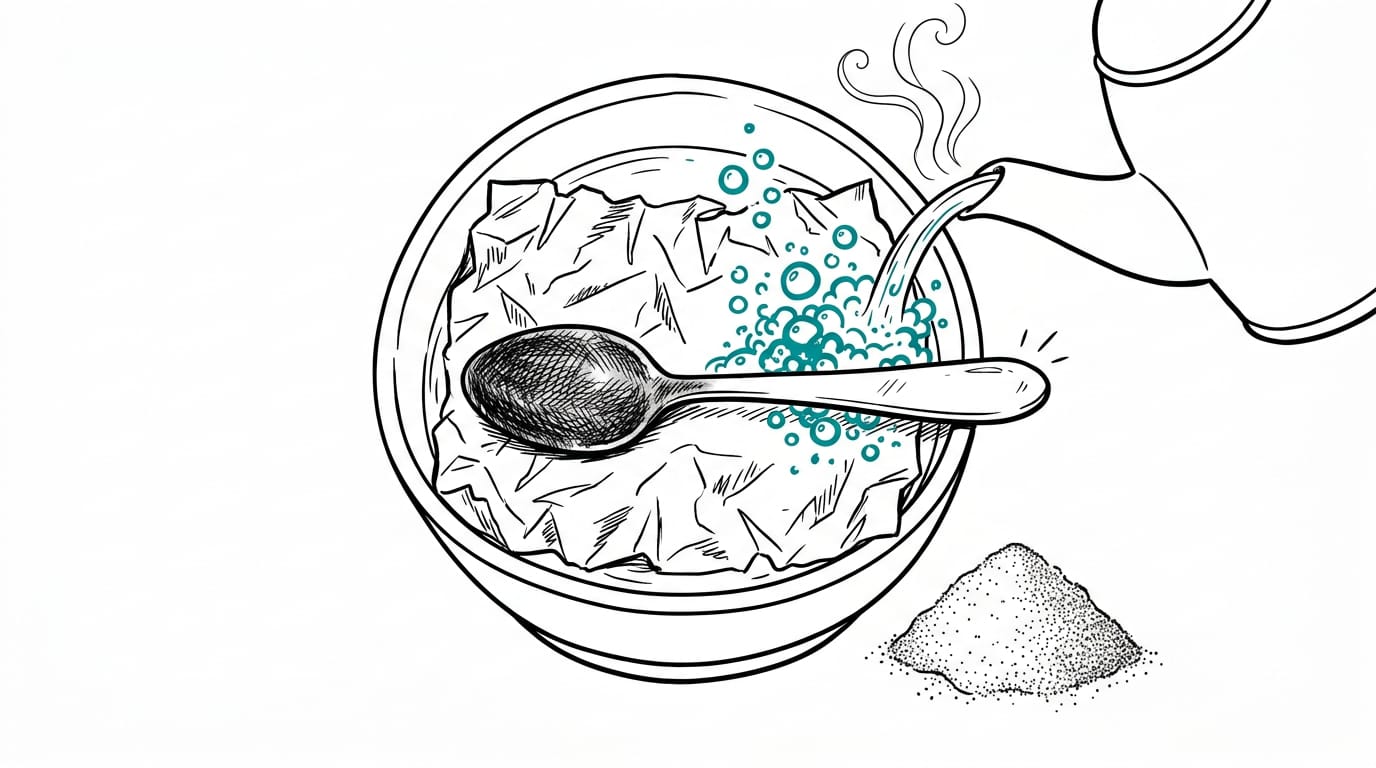
Silver tarnish is a dark surface film that forms when silver reacts with sulfur in the air, and baking soda can remove it with gentle scrubbing. Match the method to the tarnish and the piece: soak light tarnish, use a small amount of paste carefully, and avoid rubbing plated silver, gemstones, intentional dark finishes, or delicate surfaces. Rinse, dry, and buff after cleaning, and store silver in a dry, enclosed place to slow tarnish from returning.
Think of that silver gravy boat you only bring out at Christmas. It looks lovely on the table, then turns dull and grey in the cupboard between visits. That dark film is tarnish, a thin layer that forms when silver reacts with sulfur in the air.
The short answer is that baking soda can lift it off safely at home, but only when you match the method to the piece. In this guide, we’ll cover every way to do it, where baking soda falls short, and how to keep your silver shining for longer.
Why Silver Tarnishes and Baking Soda Helps
Pull out a silver serving dish and you’ll often find it dull or streaked. That’s tarnish, and once you know what causes it, baking soda makes a sensible first tool.
What makes silver tarnish
Tarnish forms when silver reacts with air and moisture. It’s oxidation, not rust, which only forms on iron.
Sulfur reacts with the alloy metals mixed into silver. According to Canada.ca’s guide to how silver objects tarnish, sterling silver tarnishes faster because of the copper in its alloy. Sterling is 92.5% silver, so the other 7.5% is alloy metal.
Your body chemistry can blacken silver too, so jewellery you wear daily may need cleaning more often.
The upsides of baking soda
Baking soda is a mild abrasive, so it lifts tarnish through gentle scrubbing rather than strong chemicals. It offers four clear benefits:
- Gentle: it cleans the surface without harsh treatment.
- Eco-friendly: it skips the harsh chemicals entirely.
- Cheap: it’s a household ingredient you probably already have.
- Safe when used correctly: the method matters as much as the ingredient.
Consider a home cook who finds her great-grandmother’s candlesticks dark two days before a dinner party. A box from the baking cupboard means she can start straight away, with no emergency trip to the shop.
How it compares to store-bought cleaners
Store-bought cleaners can be faster, but they’re often costly and their results can be inconsistent.
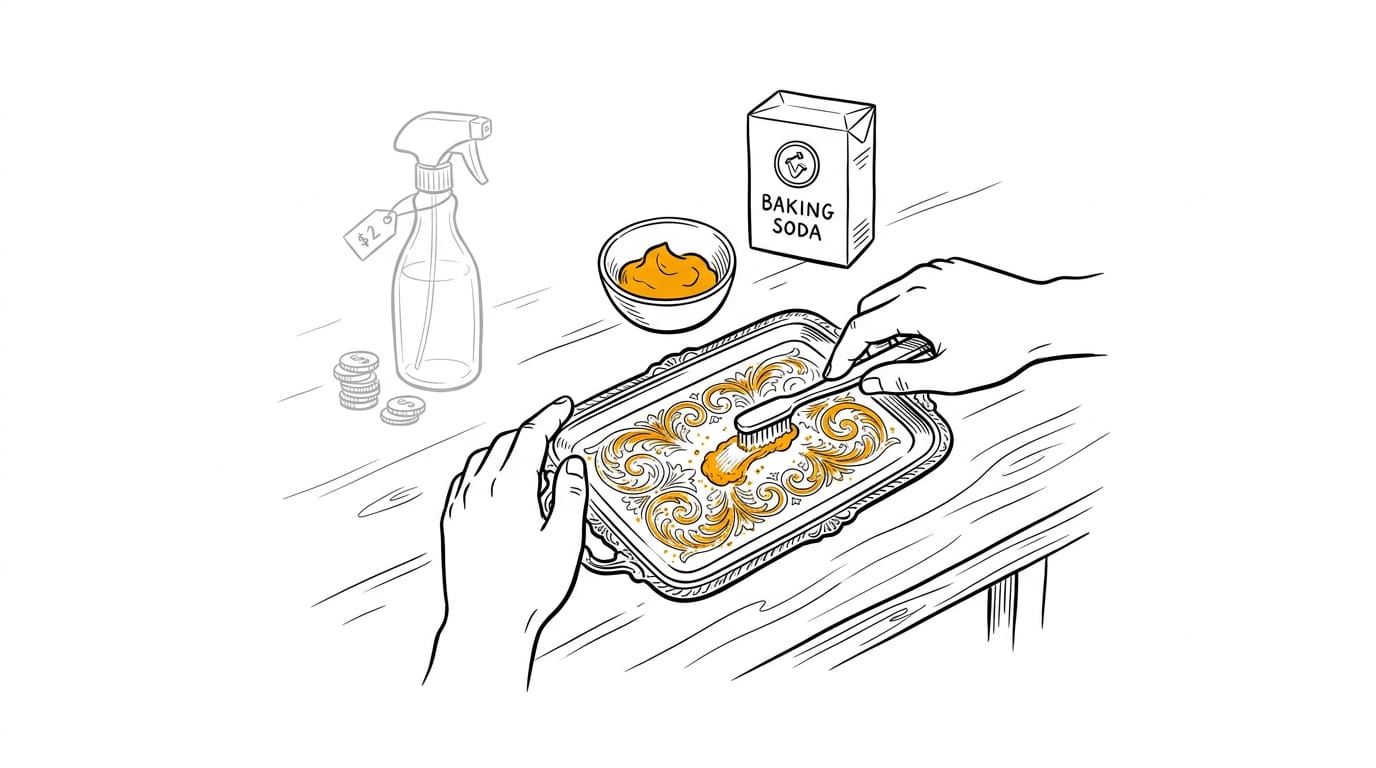
Baking soda is the more economical option, and it’s better for intricate designs, since a paste can work into engraved or patterned detail. Pick the tool that fits the piece.
Gather Supplies and Finish with Care
Getting silver sparkling is mostly about having the right kit ready and finishing with care. Here’s what to grab before you start, and how to wrap up without leaving streaks behind.
What you’ll need on hand
You probably already own everything on this list:
- Baking soda and warm water for your cleaning mix
- A soft or microfiber cloth for wiping and buffing
- A bowl or large container to work in
- Avoid paper towels and stiff brushes altogether
Think of a home cleaner asked to freshen up a grandmother’s silver spoons before Sunday lunch. A bowl, warm water, a little baking soda, and a soft cloth from the kitchen drawer are all it takes, and the spoons are gleaming before the first guest arrives.
Rinse, dry, and buff to avoid streaks
Once your silver is clean, these three steps keep it looking its best:
- Rinse off any leftover residue under running water.
- Dry thoroughly.
- Buff gently with a microfiber cloth.
Each step helps you avoid streaks and water spots, so don’t skip one.
Cleaning and polishing are not the same
Cleaning is about removing tarnish, while polishing is about adding shine. Polishing also smooths the surface, so treat these as two separate jobs.
Over-polishing wears down the fine details, though. Less is more here.
Ways to Clean Silver with Baking Soda
Choose by how deep the tarnish is, not by how big the piece is. Start with the gentlest option that fits, then step up only if the silver still looks dull.
Soak silver in baking soda and water
Think of a host who notices the gravy boat looks dull an hour before guests arrive. A quick soak can handle light tarnish, so it’s gleaming on the table with no trip to the shop.
- Dissolve 2 to 3 tablespoons of baking soda in warm water.
- Soak the silver for 10 to 15 minutes.
- Rinse and dry.
This method suits light tarnish best. If the silver stays dull afterward, move to a stronger method below.
Scrub gently with a baking soda paste
Mix baking soda with just a few drops of water until you have a thick paste. Apply it with your fingers or a cloth, working in small circles with a light touch rather than a hard scrub. Let it sit for 2 to 3 minutes, then rinse and dry completely.
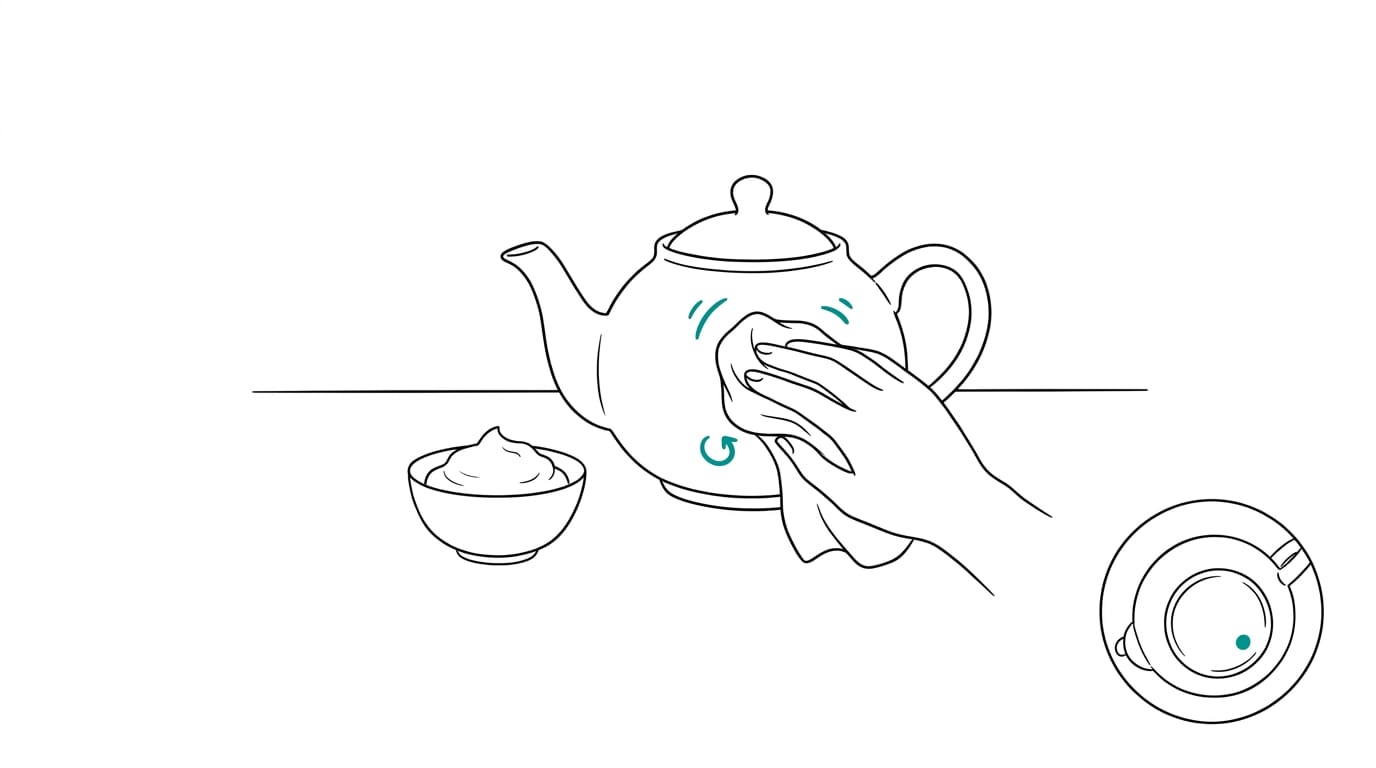
Before you start, test a hidden spot first. That way, any surprise shows up on the back of a clasp instead of the front of the teapot.
Toothpaste is a popular swap, but we can’t give you a verified answer on whether it’s safe for silver. Treat it as untested, and stick with the baking soda methods here.
Does apple vinegar clean silver?
Yes, apple cider vinegar can clean silver. Its acidity dissolves tarnish, and you’ll see a fizzing reaction as it works. For deeper tarnish, soak the piece until the fizzing stops. Patience is the whole trick.
Can vinegar clean rings? It can, but stones call for caution. If the ring has any stones, take extra care before soaking it.
Foil and hot water lift heavy tarnish
For large or heavy tarnish, line a dish with foil, shiny side up. Set the silver on the foil so it touches, then pour hot water over it and soak for 5 to 15 minutes.
The silver has to touch the foil for this to work, because the reaction transfers the tarnish onto the foil.
If you want to skip both baking soda and vinegar, this is the method to reach for, since its steps call only for foil and hot water.
Combine baking soda, salt, vinegar, and foil
This method combines all four in one container. Line the container with foil, add the silver, then stir in baking soda, salt, and vinegar until the granules dissolve. Undissolved grit can scratch the silver, so take your time with that step.
Pour boiling water over everything last, and flip the pieces partway through for even exposure.
Ketchup for charms or stones, watch enamel
Ketchup is an option for silver charms or stones, but it’s risky on enamel. If your piece has any enamel work, skip it and choose one of the methods above.
When Baking Soda Is the Wrong Choice
Baking soda is gentle, but it isn’t right for every piece. Check the hallmark first: a sterling stamp means solid silver, while plated pieces carry only a thin silver layer. Here’s where to stop.
Jewelry that needs a different approach
Some pieces need a different approach:
- Intentional oxidation. Darkened detail in a design’s recesses is deliberate. Scrubbing it away leaves the piece looking worn.
- Gemstones and soft stones. Opals and pearls can be scratched, so keep paste off them.
- Delicate finishes. Matte or hand-textured surfaces can be flattened by rubbing.
- Silver-plated jewelry. Rubbing through the thin plating exposes the base metal, and that can’t be undone at home.
- Costume jewelry and other metals. These may react differently, so test a hidden spot first.
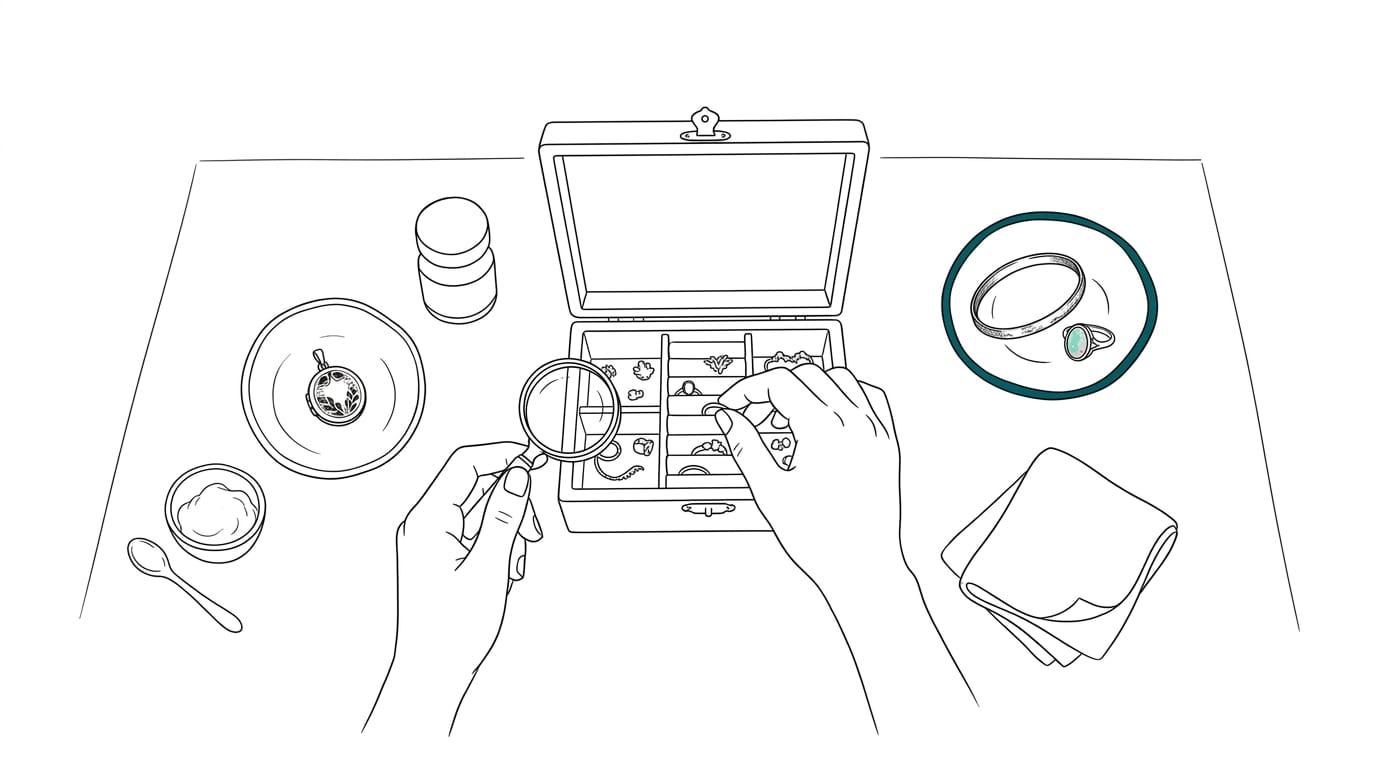
Consider a home cleaner sorting a grandmother’s jewelry box. The sterling locket can take baking soda paste, but the plated bracelet and opal ring go in a separate dish, protecting them from damage that can’t be reversed. Delicate pieces like the plated bracelet call for a careful approach, and mild dish soap for cleaning jewelry is one place to start.
If you’re asking how to fix oxidised silver, start by asking whether the darkening is tarnish or part of the design. Ordinary tarnish responds to the gentle methods covered earlier in this guide. Design darkening should stay put.
If it won’t lift, put down the cloth and see a jeweller.
When blackened silver needs a professional
- Deeply blackened pieces. Thick, dark tarnish worn off with repeated scrubbing can wear the surface unevenly. A jeweller can assess it in person.
- Antique pieces. Worn surfaces and fine engraving can be damaged by rough handling, so keep it gentle or hand it over.
- Avoid over-polishing. Every pass removes a little metal. Stop once the tarnish is gone.
Aim for clean, not new.
Keep Silver from Tarnishing Again
Prevention is easier than rescue, because once tarnish sets in, it’s a real job to lift. A few small habits keep your silver looking good between cleans.
Store silver to slow down tarnish
The goal isn’t to stop tarnish completely, but to slow it down. Less air and less moisture mean less tarnish, so limit both:
- Airtight containers or bags: Seal pieces in a zip-top bag or lidded box to keep air out.
- Anti-tarnish cloths or paper: Wrap flatware in anti-tarnish cloth or paper, which is made to slow tarnish.
- A dry place with silica gel packs: Keep silver somewhere dry and add a silica gel pack to absorb stray moisture.
- Avoid humidity: Damp spots like bathrooms and basements speed up tarnish, so store silver well away from them.
- Anti-tarnish strips for drawers: Cheap strips tucked into a drawer or cabinet help guard everything stored there.
Think of a home cook who keeps the good cutlery for Sunday roasts in a dresser drawer. She wraps the pieces in anti-tarnish cloth and tucks in a strip, so the forks stay bright without a polishing session.
Simple habits that keep silver shiny
These routines keep silver bright with little effort:
- Light polish every few weeks: For pieces you use often, a gentle polish with a soft cloth keeps dullness at bay.
- Wipe after wearing: Silver jewelry picks up skin oils, so give it a quick wipe with a soft cloth when you take it off.
- Homemade cleaning every few months: A baking soda clean every few months keeps light tarnish from turning stubborn.
Scrubbing heavy tarnish off a tray takes far longer than a quick wipe. Small habits win.
The big idea is simple: match the method to the piece, know when baking soda is the wrong choice, and look after your silver once it’s clean.
Do those three things and you’ll spend less time scrubbing and more time enjoying pieces that still look good for years.
That’s a win you can get at your own kitchen sink. Give your silver a little care, and it’ll keep shining for everyone who sets a table with it.
References
- Understanding how silver objects tarnish — canada.ca
Questions
How to remove the black coating on silver?
Use a silver-safe cleaning method suited to the item. For heavy tarnish, place the silver so it touches shiny-side-up aluminum foil in a dish, cover it with hot water, and soak for 5 to 15 minutes; rinse and dry thoroughly. Don’t remove darkening that is intentional, and take antique or deeply blackened pieces to a jeweller.
How to fix oxidized silver?
First check whether the darkening is ordinary tarnish or intentional oxidation in the design. For ordinary tarnish, gently use a baking soda soak or a baking soda paste, then rinse and dry; avoid rubbing plated silver, delicate finishes, and pieces with vulnerable stones. If the tarnish will not lift, consult a jeweller.
How to clean silver without baking soda and vinegar?
Line a dish with aluminum foil, place the silver so it touches the foil, and pour hot water over it. Soak for 5 to 15 minutes, then rinse and dry the silver thoroughly. This method uses foil and hot water, without baking soda or vinegar.
Is it safe to use toothpaste on silver?
Toothpaste is not a reliably verified or recommended silver cleaner, and some formulations may scratch the surface. Use a gentle baking soda method instead, testing a hidden spot first, and keep abrasive cleaning away from plated or delicate pieces.
My silver chain has gone black. How can I fix it?
A black silver chain may have tarnish, but first check that the dark finish is not intentional. If it is solid silver and has ordinary tarnish, gently clean it with baking soda paste, rinse, and dry; avoid vigorous rubbing, especially if it is plated or has stones. Take persistent or heavy tarnish to a jeweller.
Can I polish silver with aluminum foil?
Yes. Line a dish with aluminum foil, shiny side up, place the silver on it so the two touch, and cover it with hot water for 5 to 15 minutes. Rinse and dry the silver afterward.
Is cleaning silver with aluminum foil safe?
The foil method is generally suitable for ordinary silver tarnish when the piece is appropriate for cleaning, but it is not right for every item. Avoid it for intentionally oxidized, antique, delicate, stone-set, or plated pieces unless a jeweller confirms it is suitable.
Does apple vinegar clean silver?
Yes. Apple cider vinegar’s acidity can help dissolve tarnish; soaking may produce fizzing, and deeper tarnish can take longer. Use caution with jewelry that has stones, since soaking may damage some stones or settings.
Sources
More in Cleaning Products
- Hydrogen Peroxide and Baking Soda: A Complete GuideHydrogen peroxide and baking soda can tackle coffee on sofa cushions. Get the simple mix, safe application steps, and when a store-bought remover is smarter.
- Baking Soda Smell Removal: How It Works and Where It StopsBaking soda smell removal can freshen bins and gym bags, but it won’t fix the source. Find where odors start and choose cupboard-first fixes that work.
- Baking Soda to Whiten Laundry: What Really WorksBaking soda to whiten laundry can lift some dinginess, but won't replace detergent. See when vinegar helps and how to use a stain-first method.
Stain Finder: a free stain removal guide
Find your stain